How to Dye Paper with Tea
The following instructions explain several techniques for dyeing paper using black and green tea.
I will share how you can create an even tone, as well as a mottled, vintage effect.
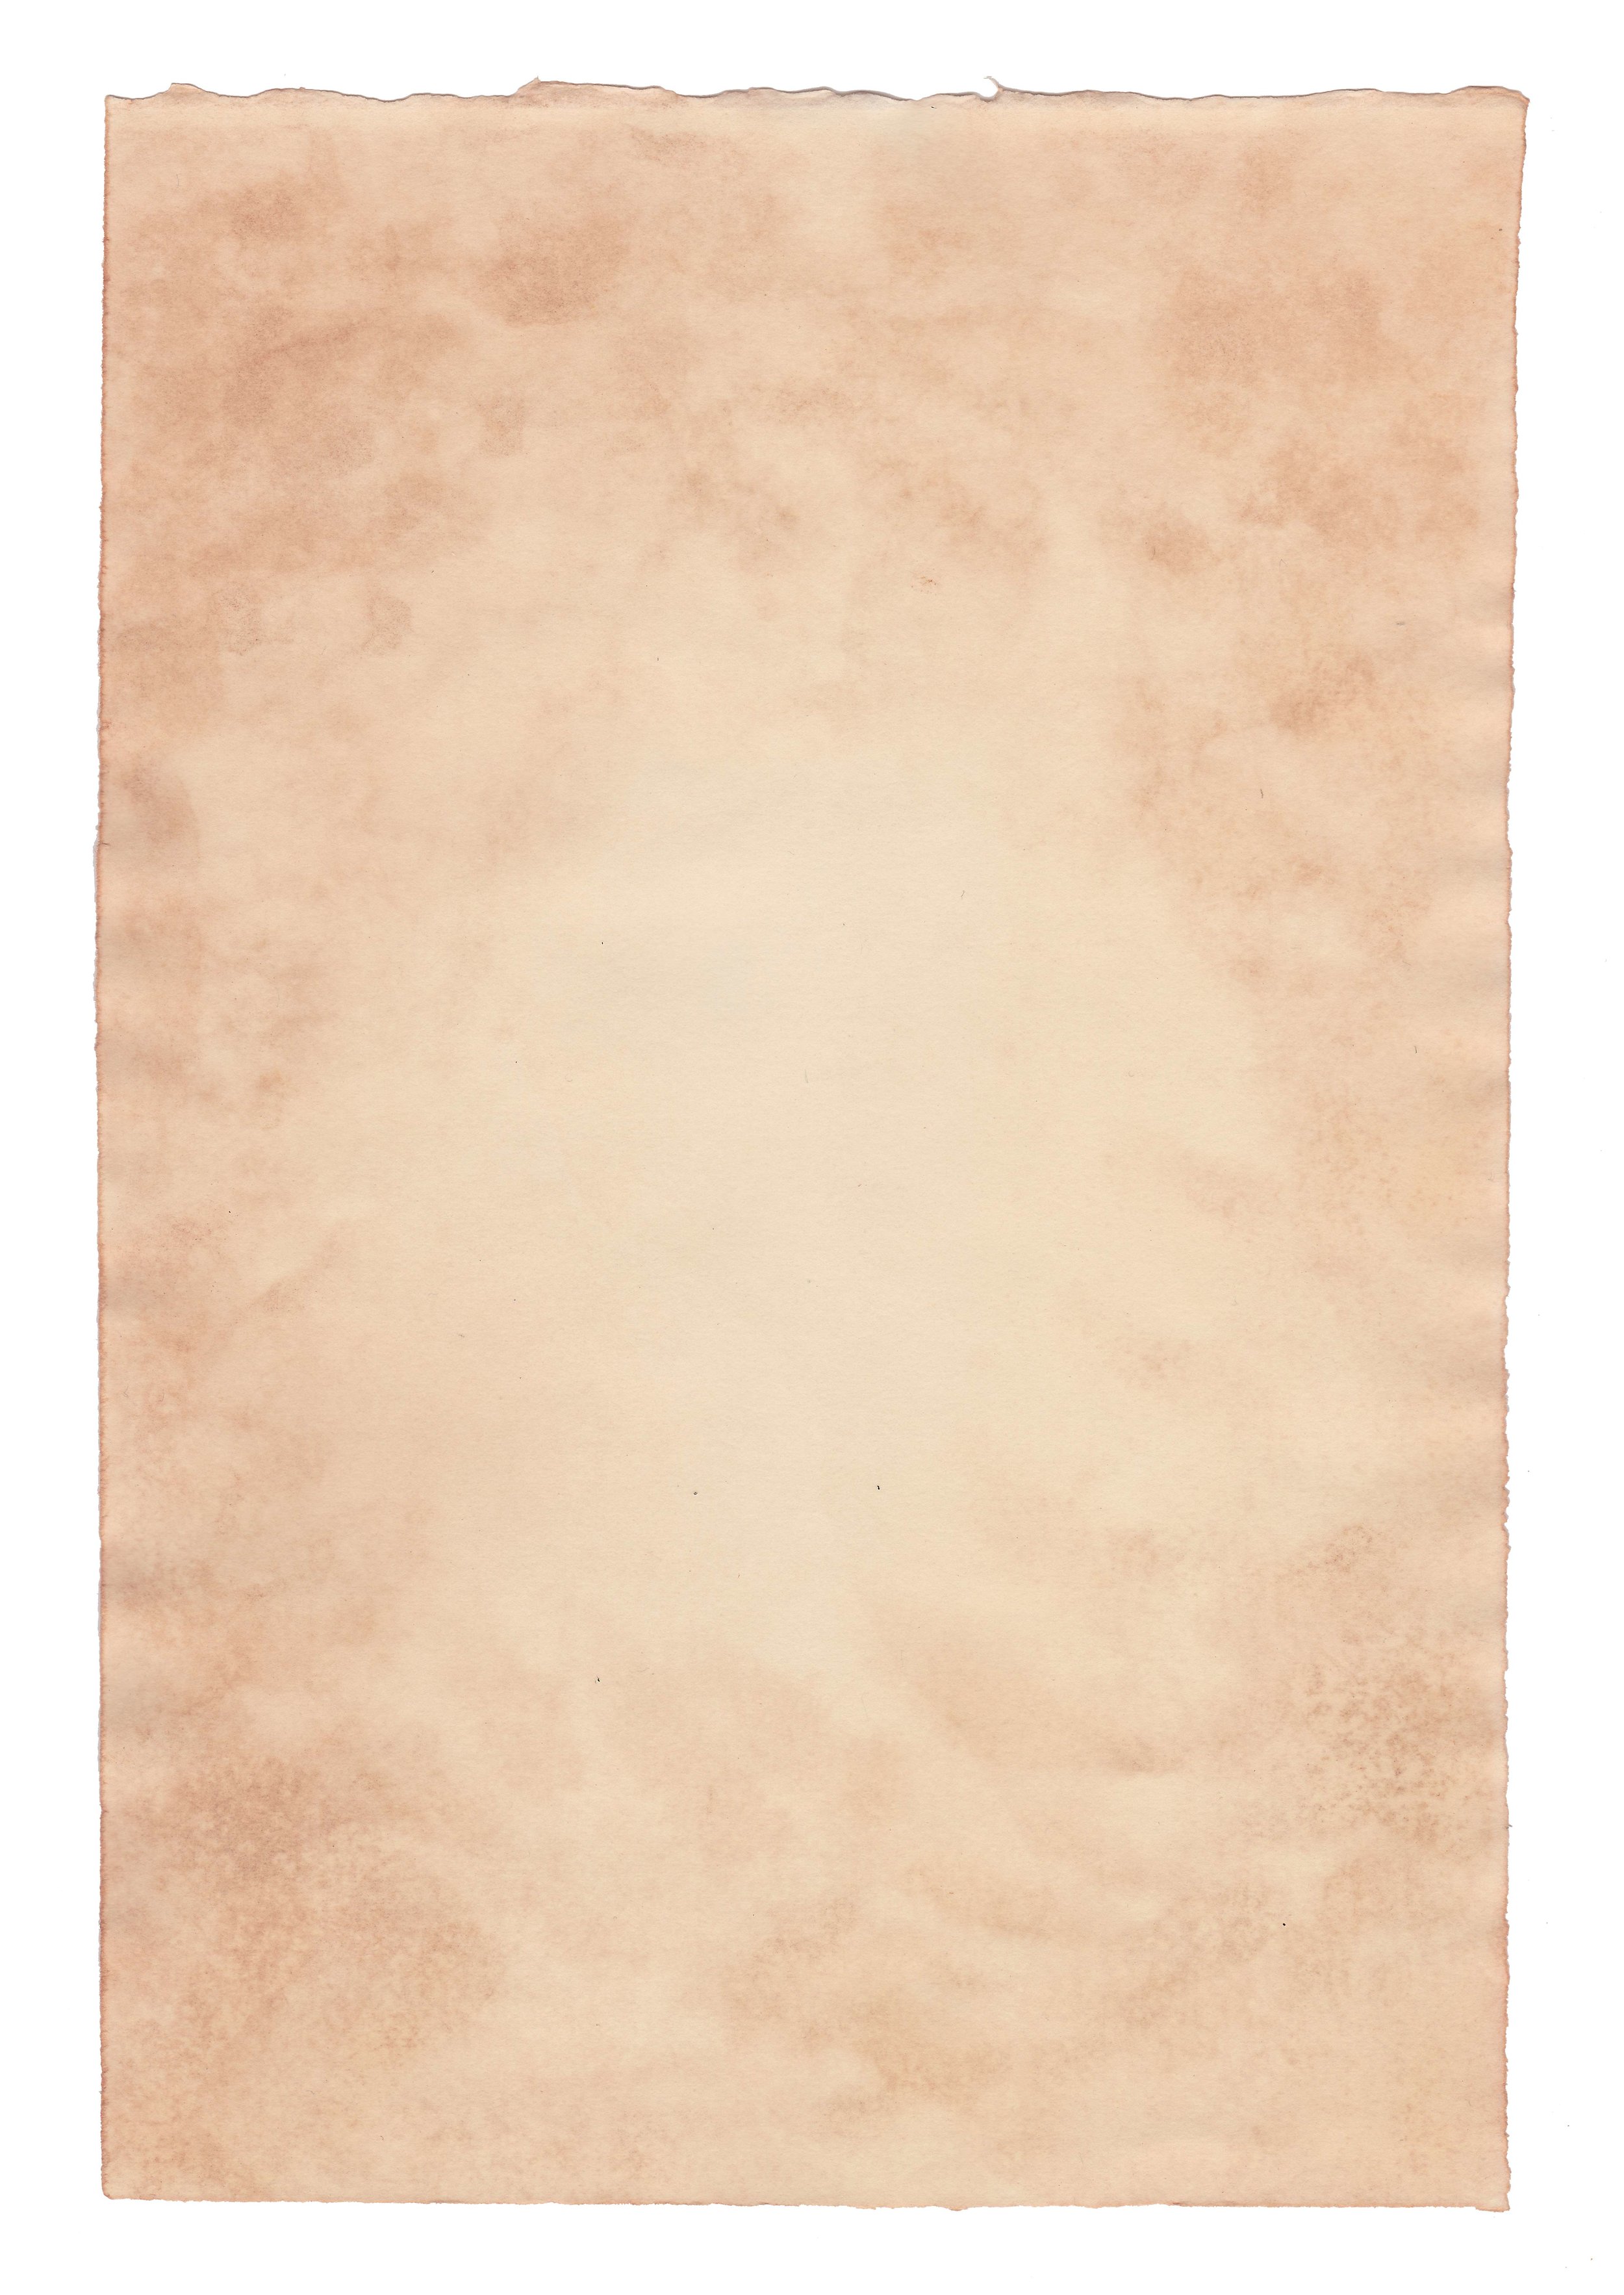
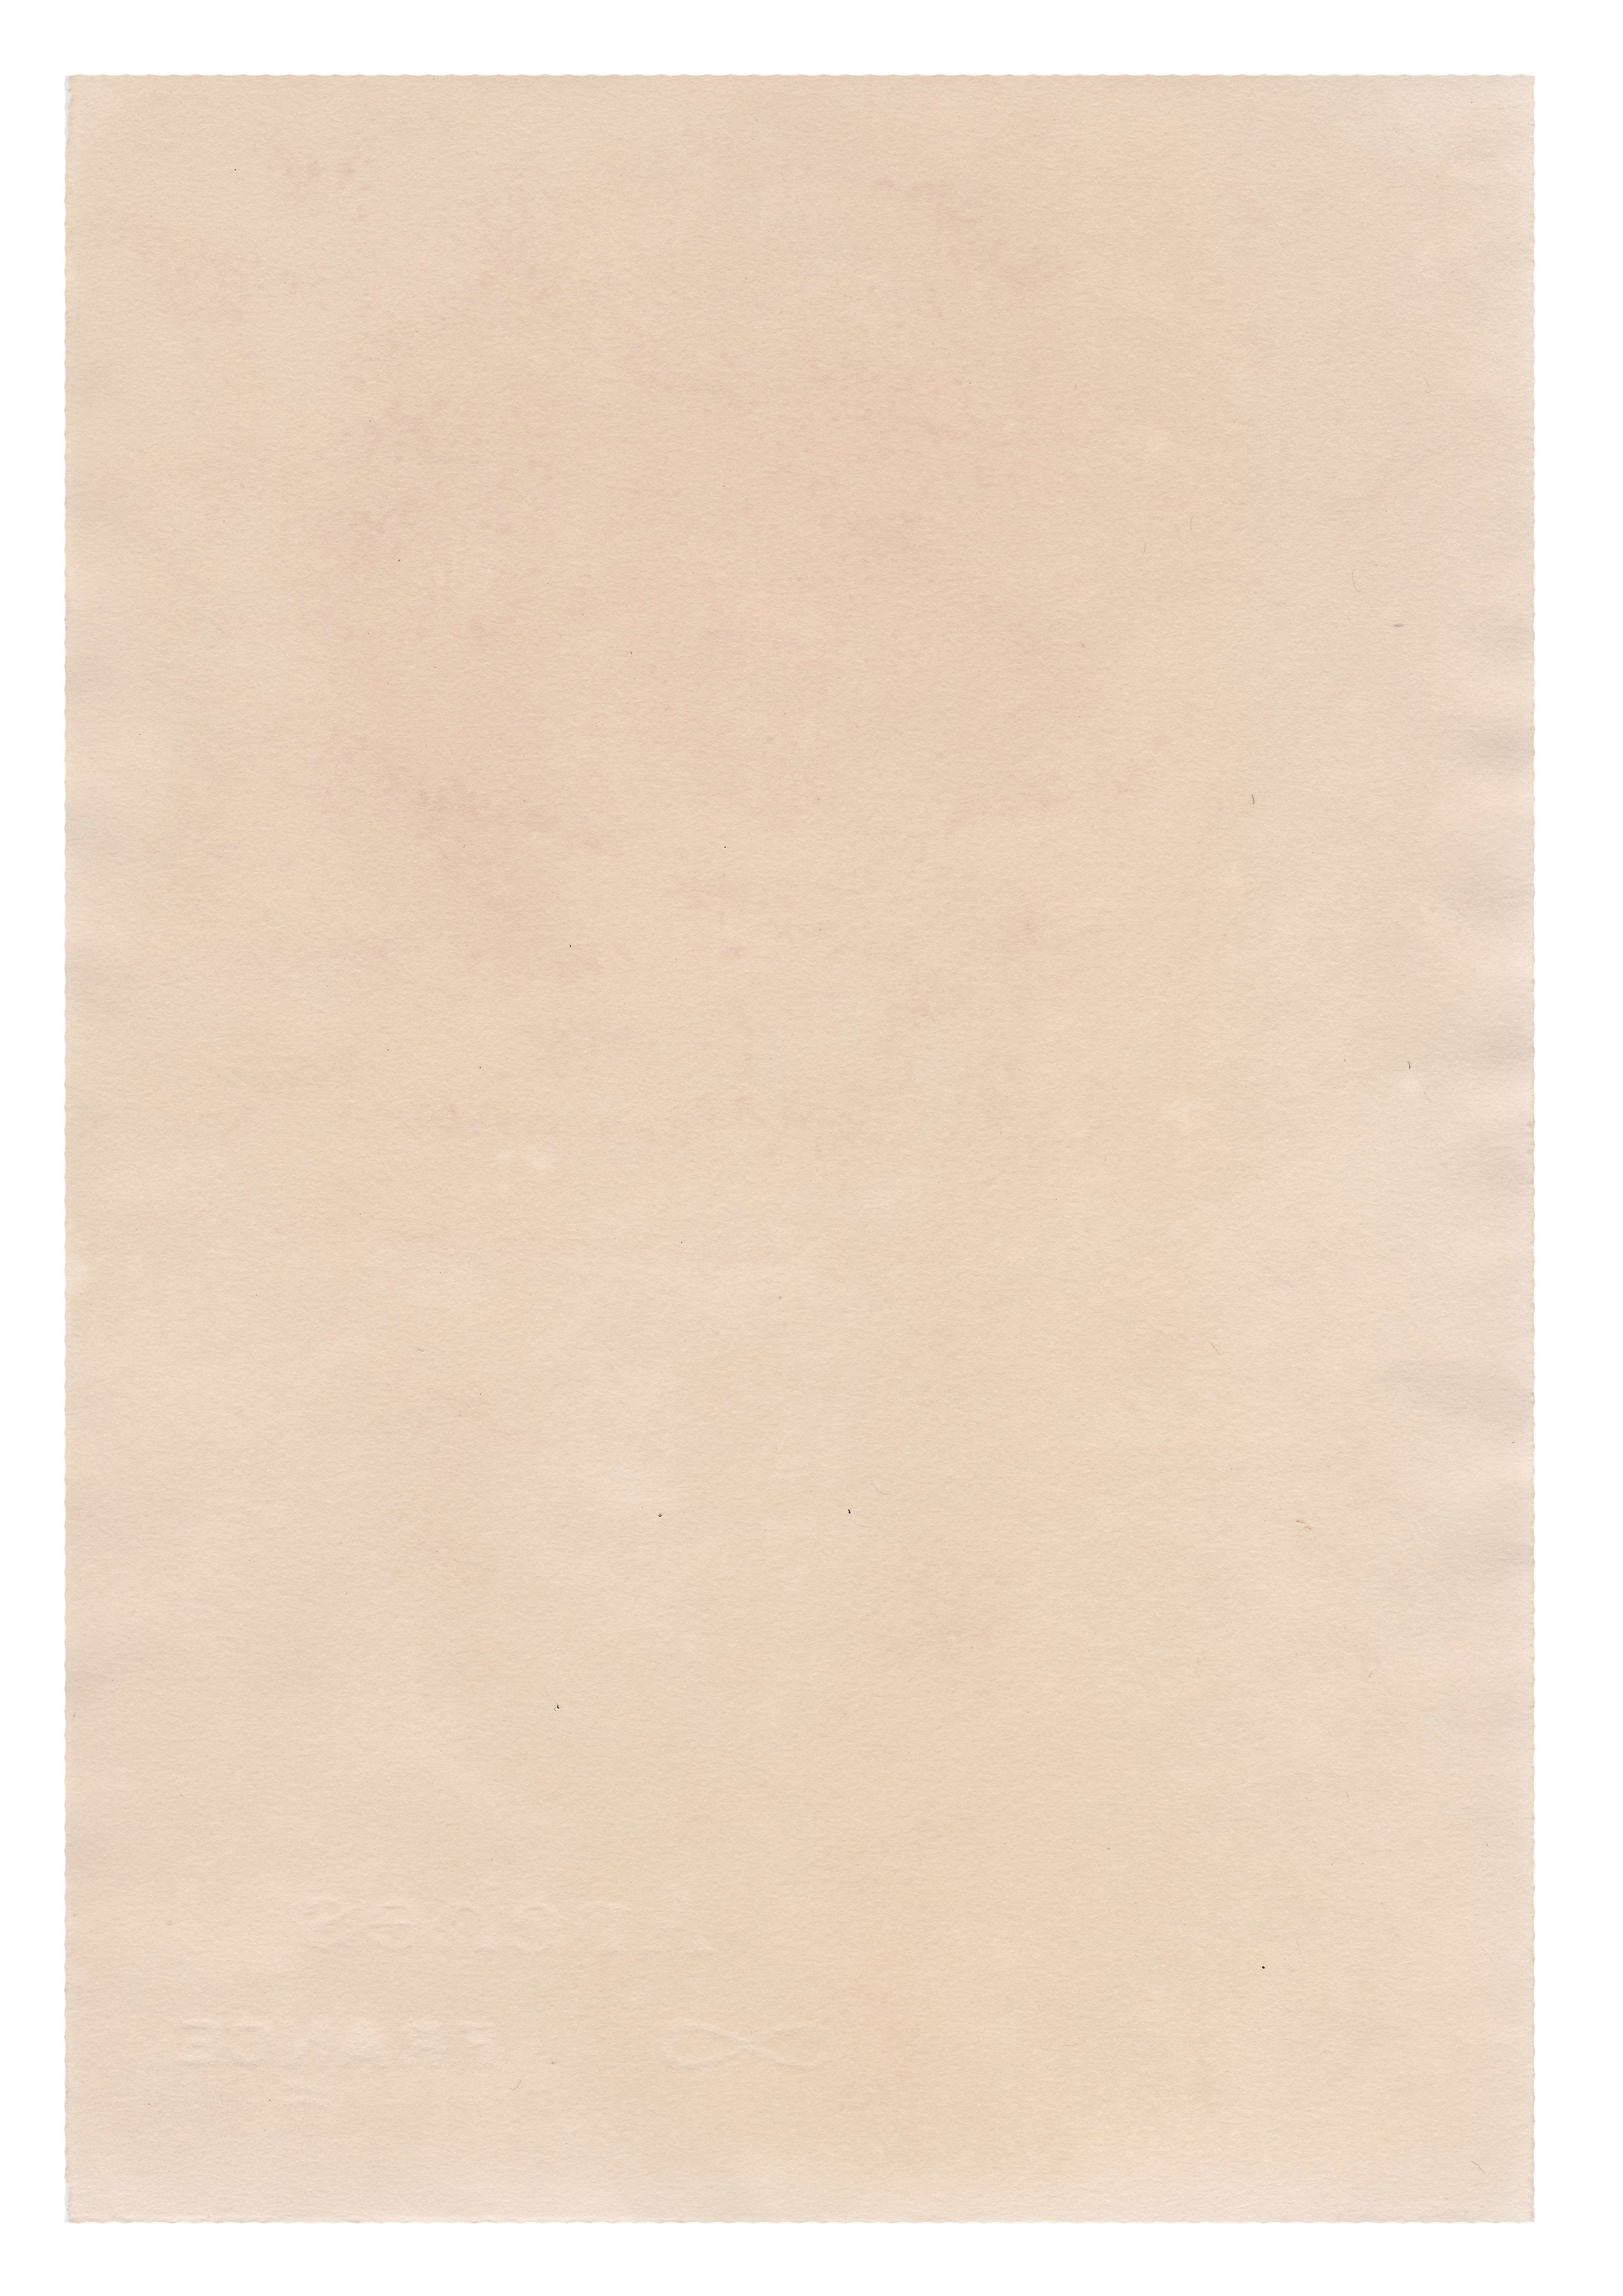
Tea-dyeing gives paper a warm tone, similar to the look of aged paper. It is useful for creating faux-aging effects, and also makes a beautiful, natural background for drawings, watercolors and prints.
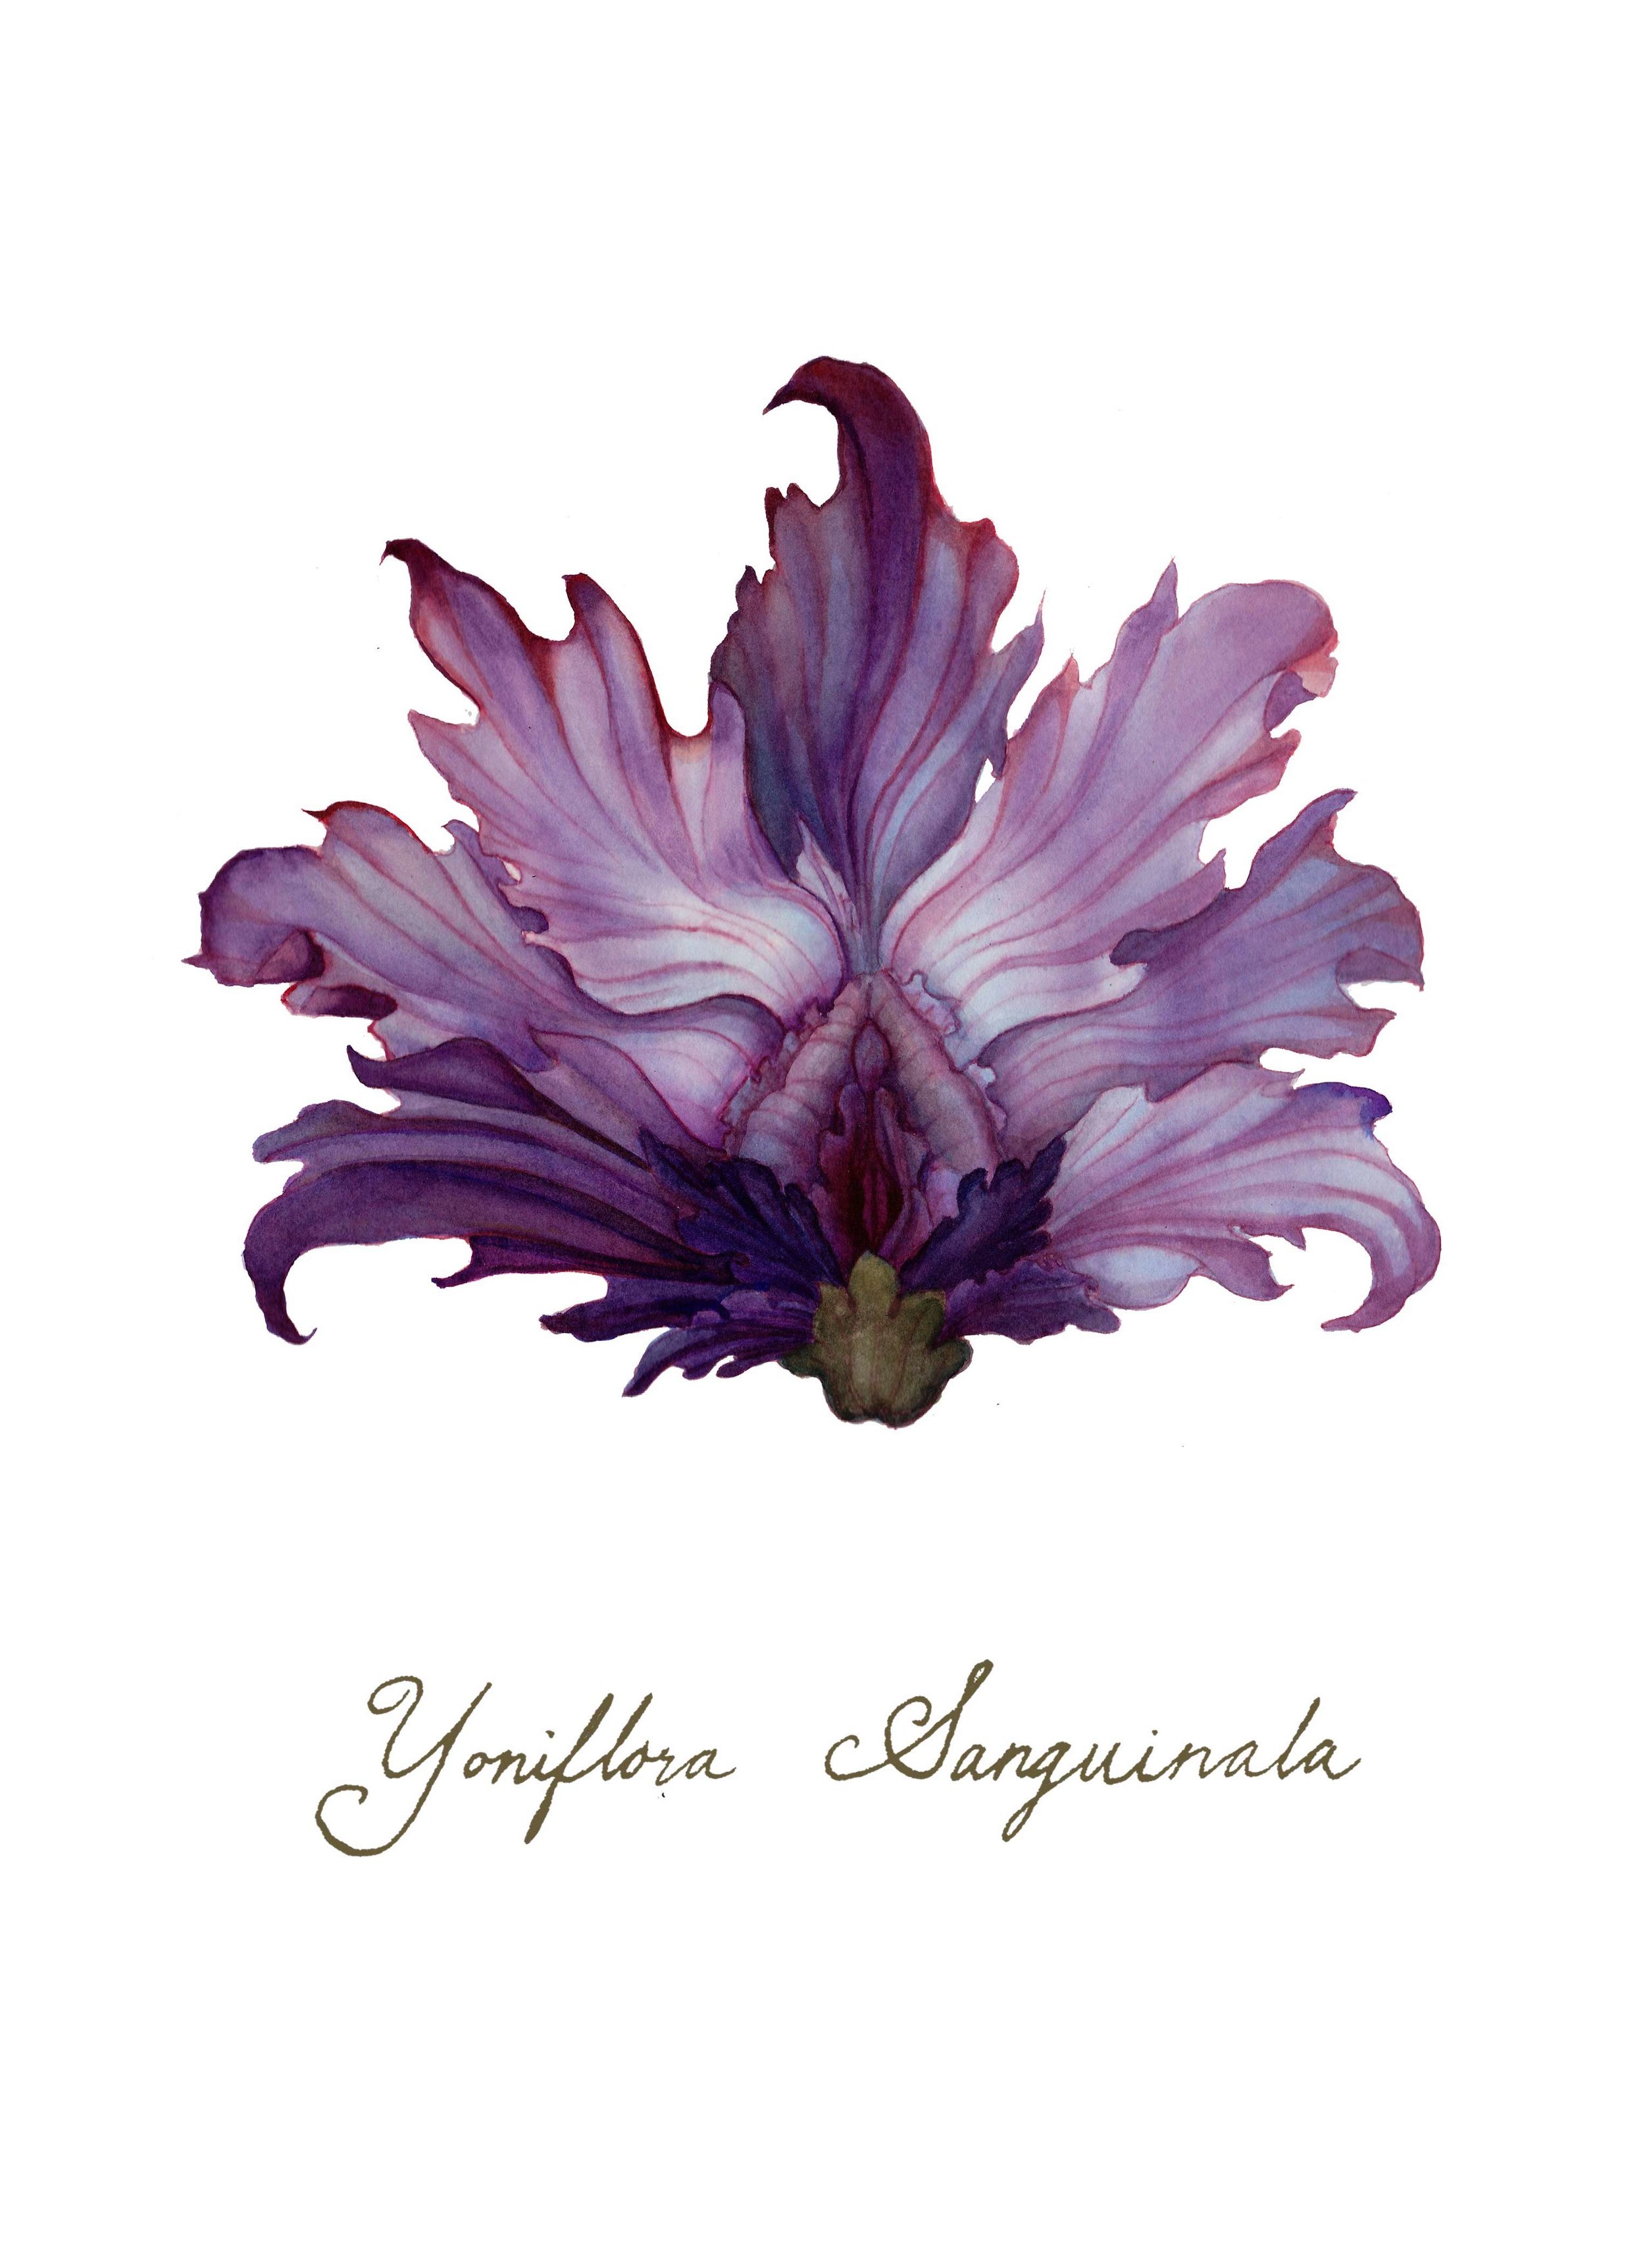
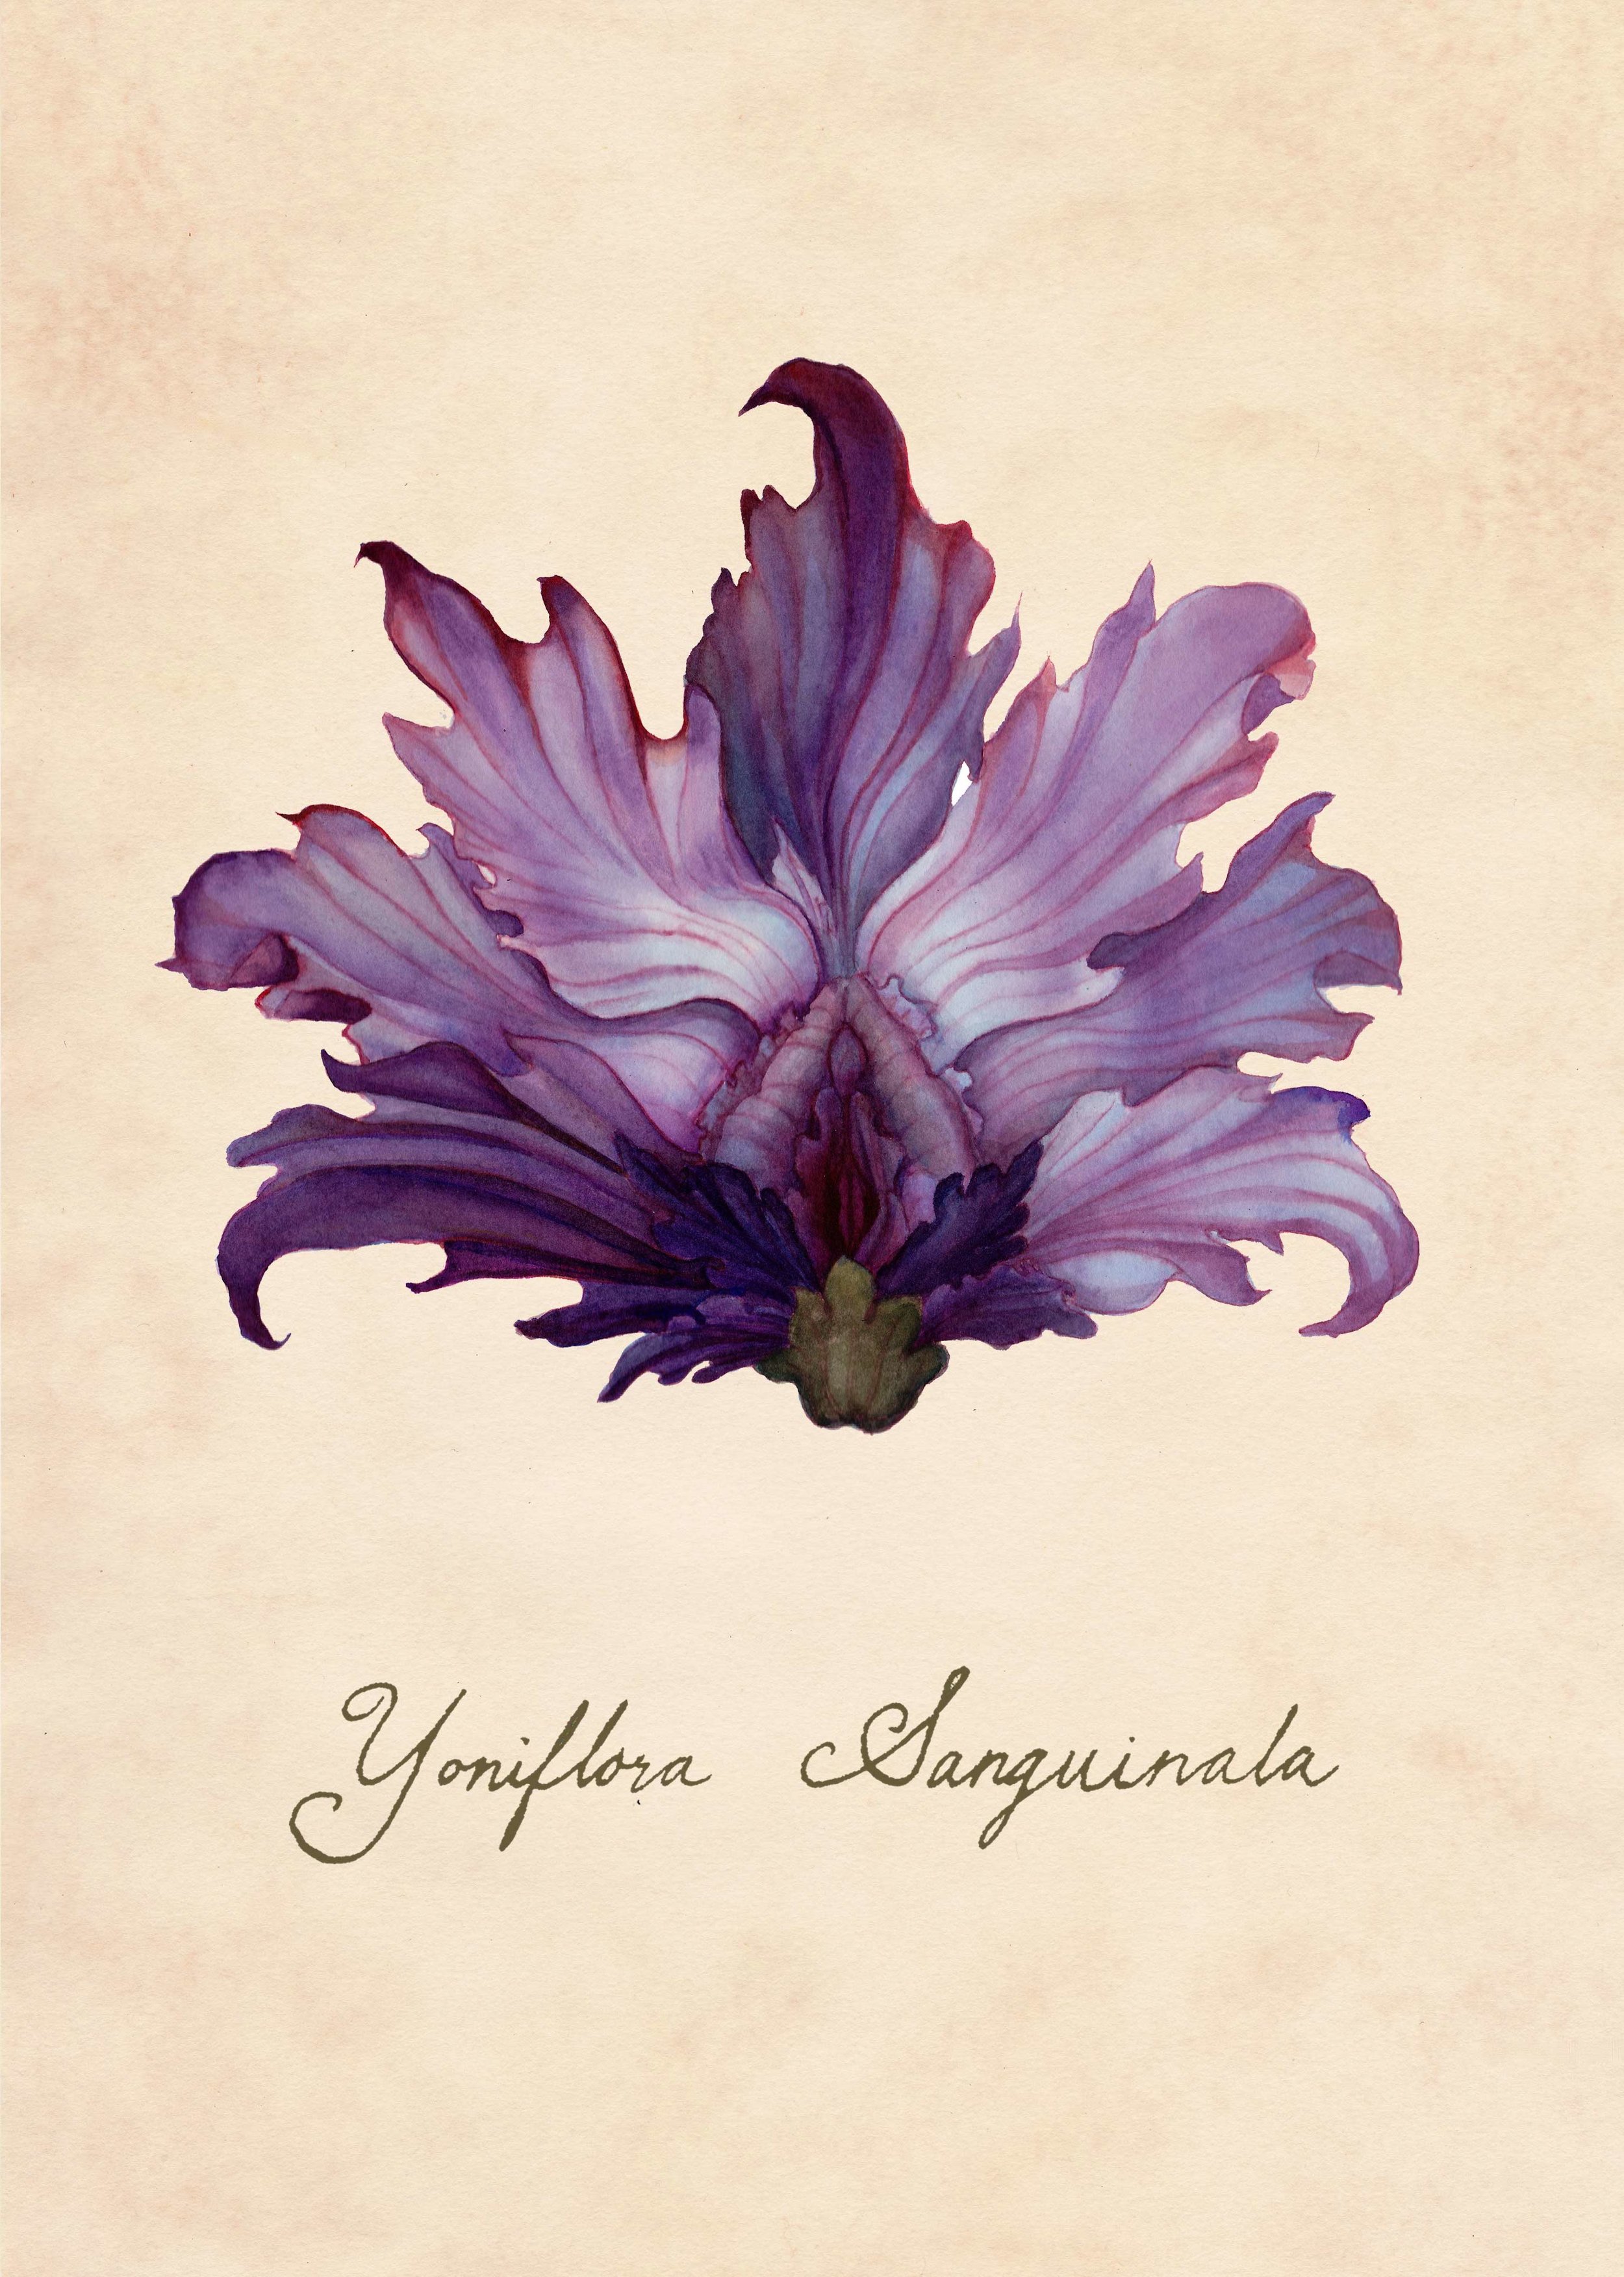
I am using these dyed papers for a series of greeting cards based on my Yoniflower project. I found that the natural white paper of my watercolors felt empty when produced as a printed card. With dyed paper, I gave my paintings an antique feel, and created visual interest in the blank areas of the greeting cards.
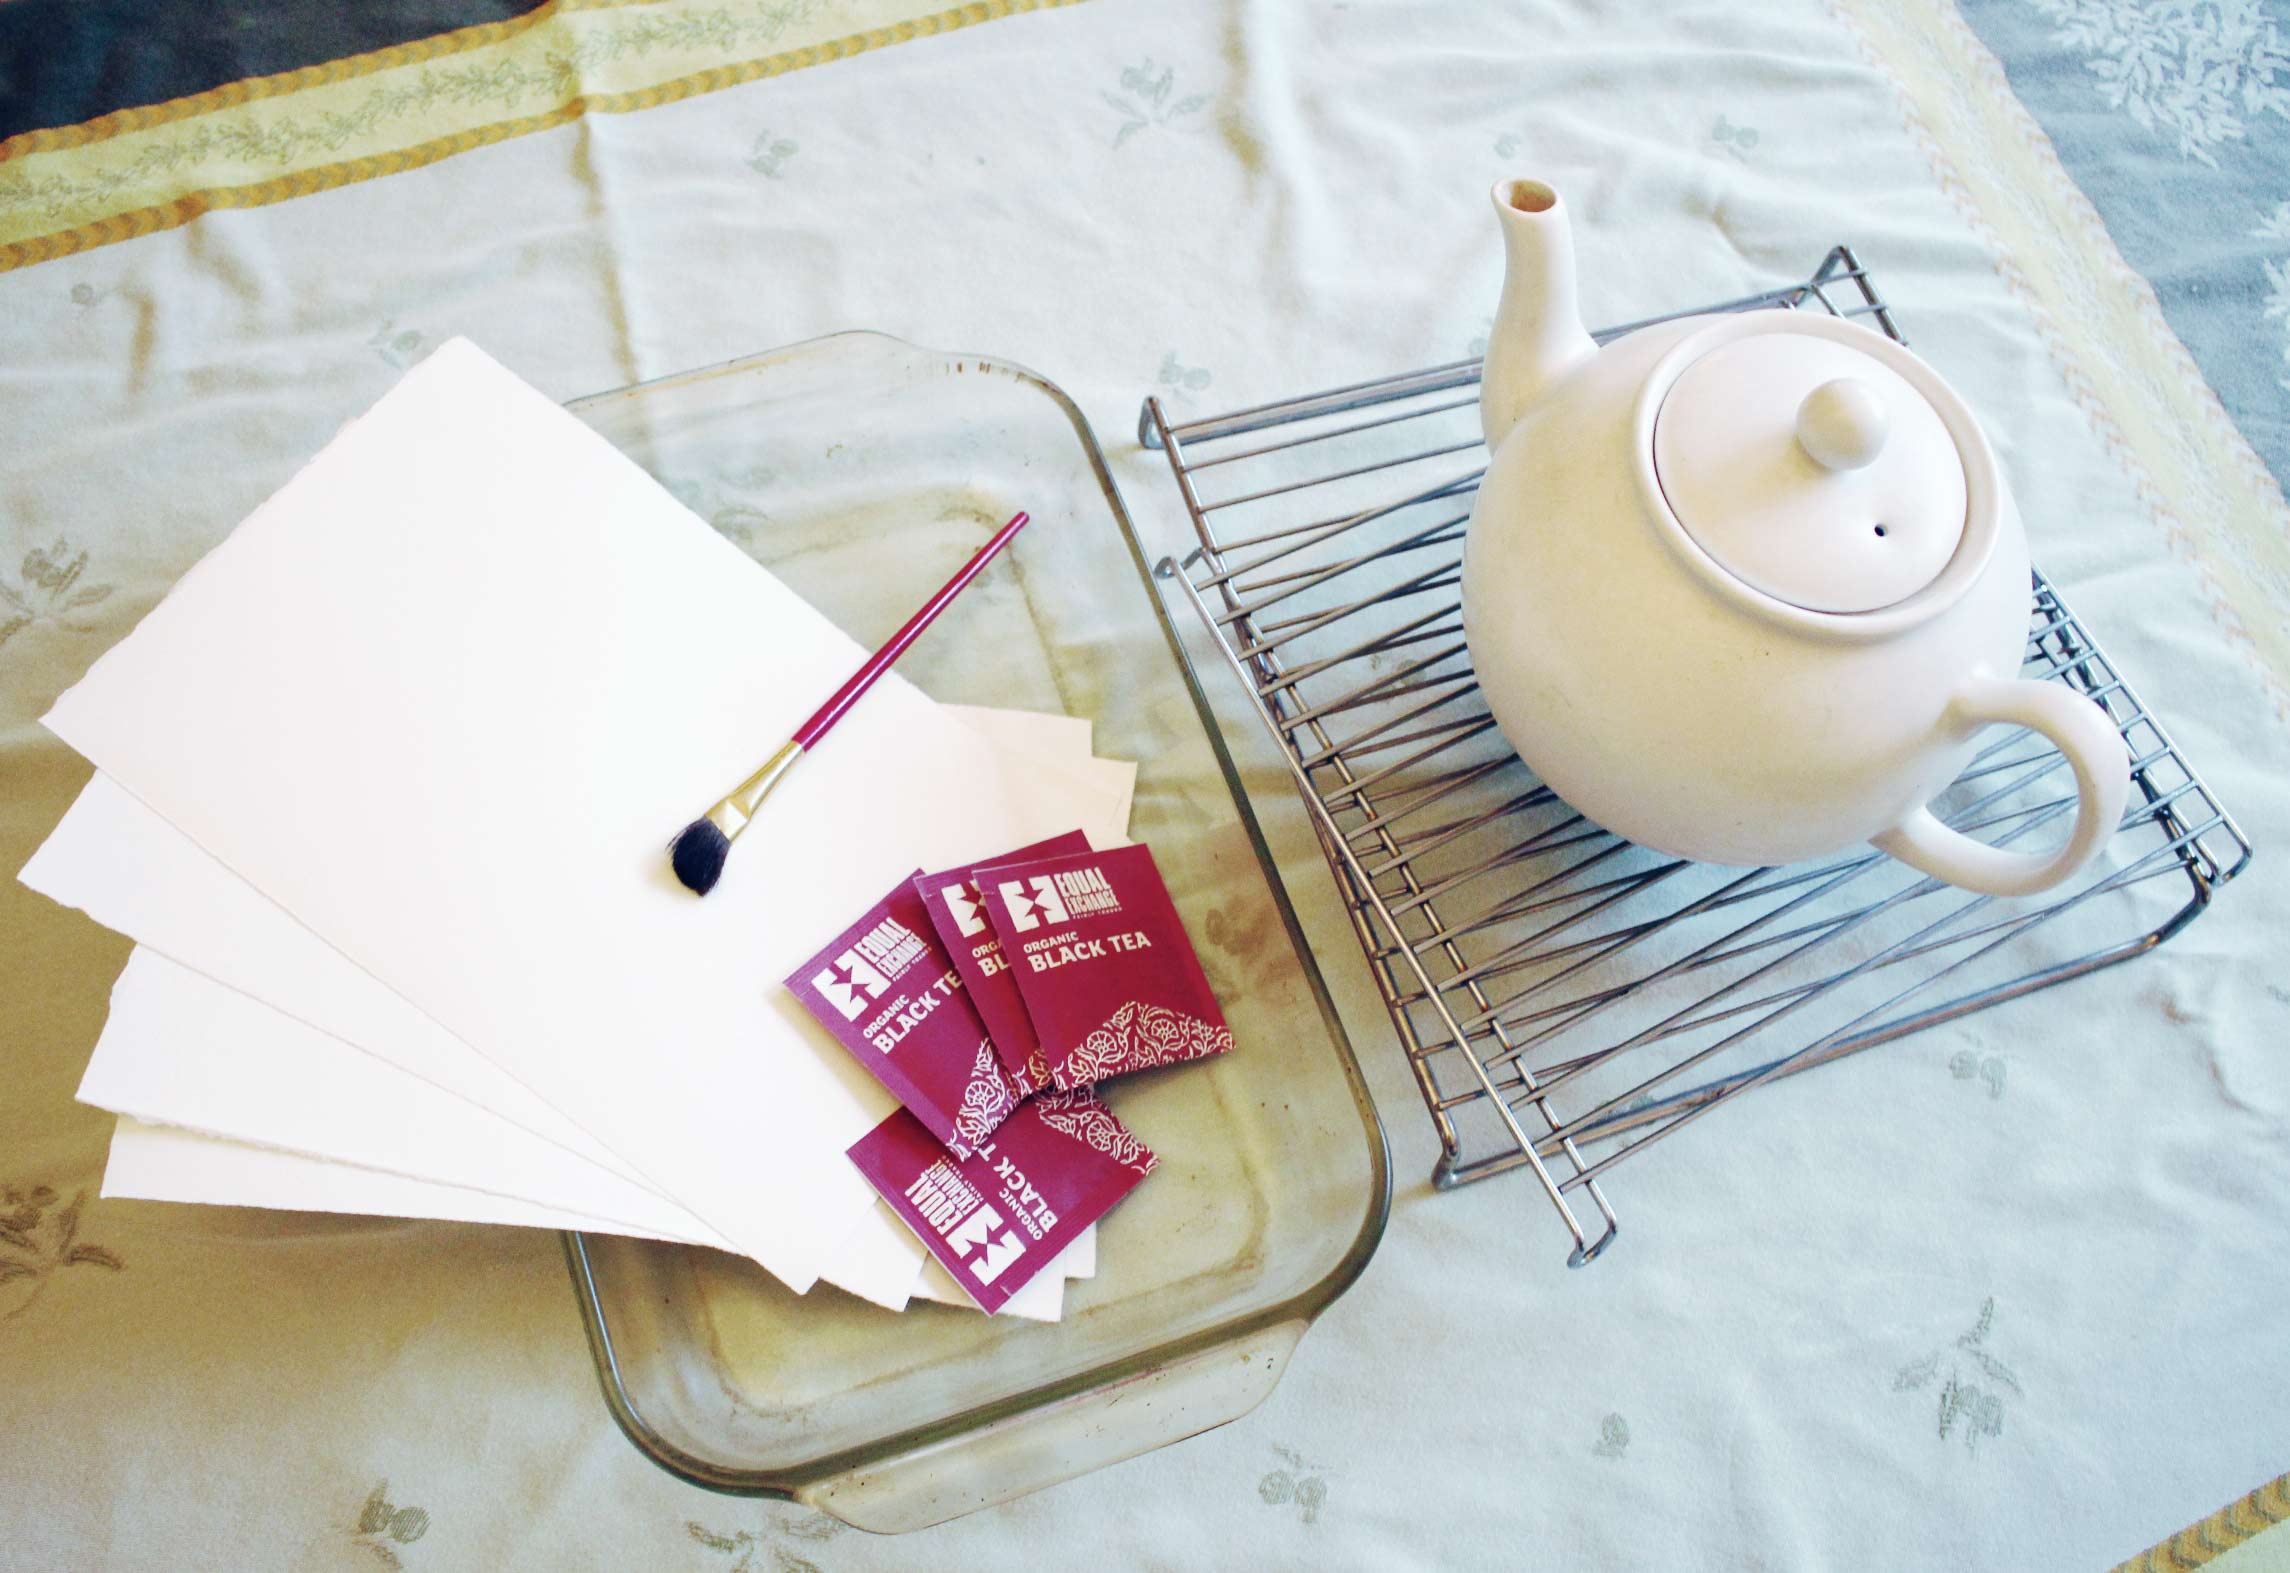
Materials Needed:
watercolor paper*
black and green teas
3" deep baking dish or tub
teapot
towels
drying rack
brush or sponge (optional)
tray for teabags
*For this project I used Arches 90lb hot press watercolor paper, torn into 8" x 10" rectangles. I recommend using watercolor or printmaking paper for dyeing because thinner papers will not absorb the tea properly, and risk tearing. Hot press watercolor paper has a smooth surface that is great for detailed illustration, and cold-press paper has texture which compliments loose painting techniques. Both papers are equally suitable for dyeing.

Materials needed for dyeing paper with Black and Green Tea
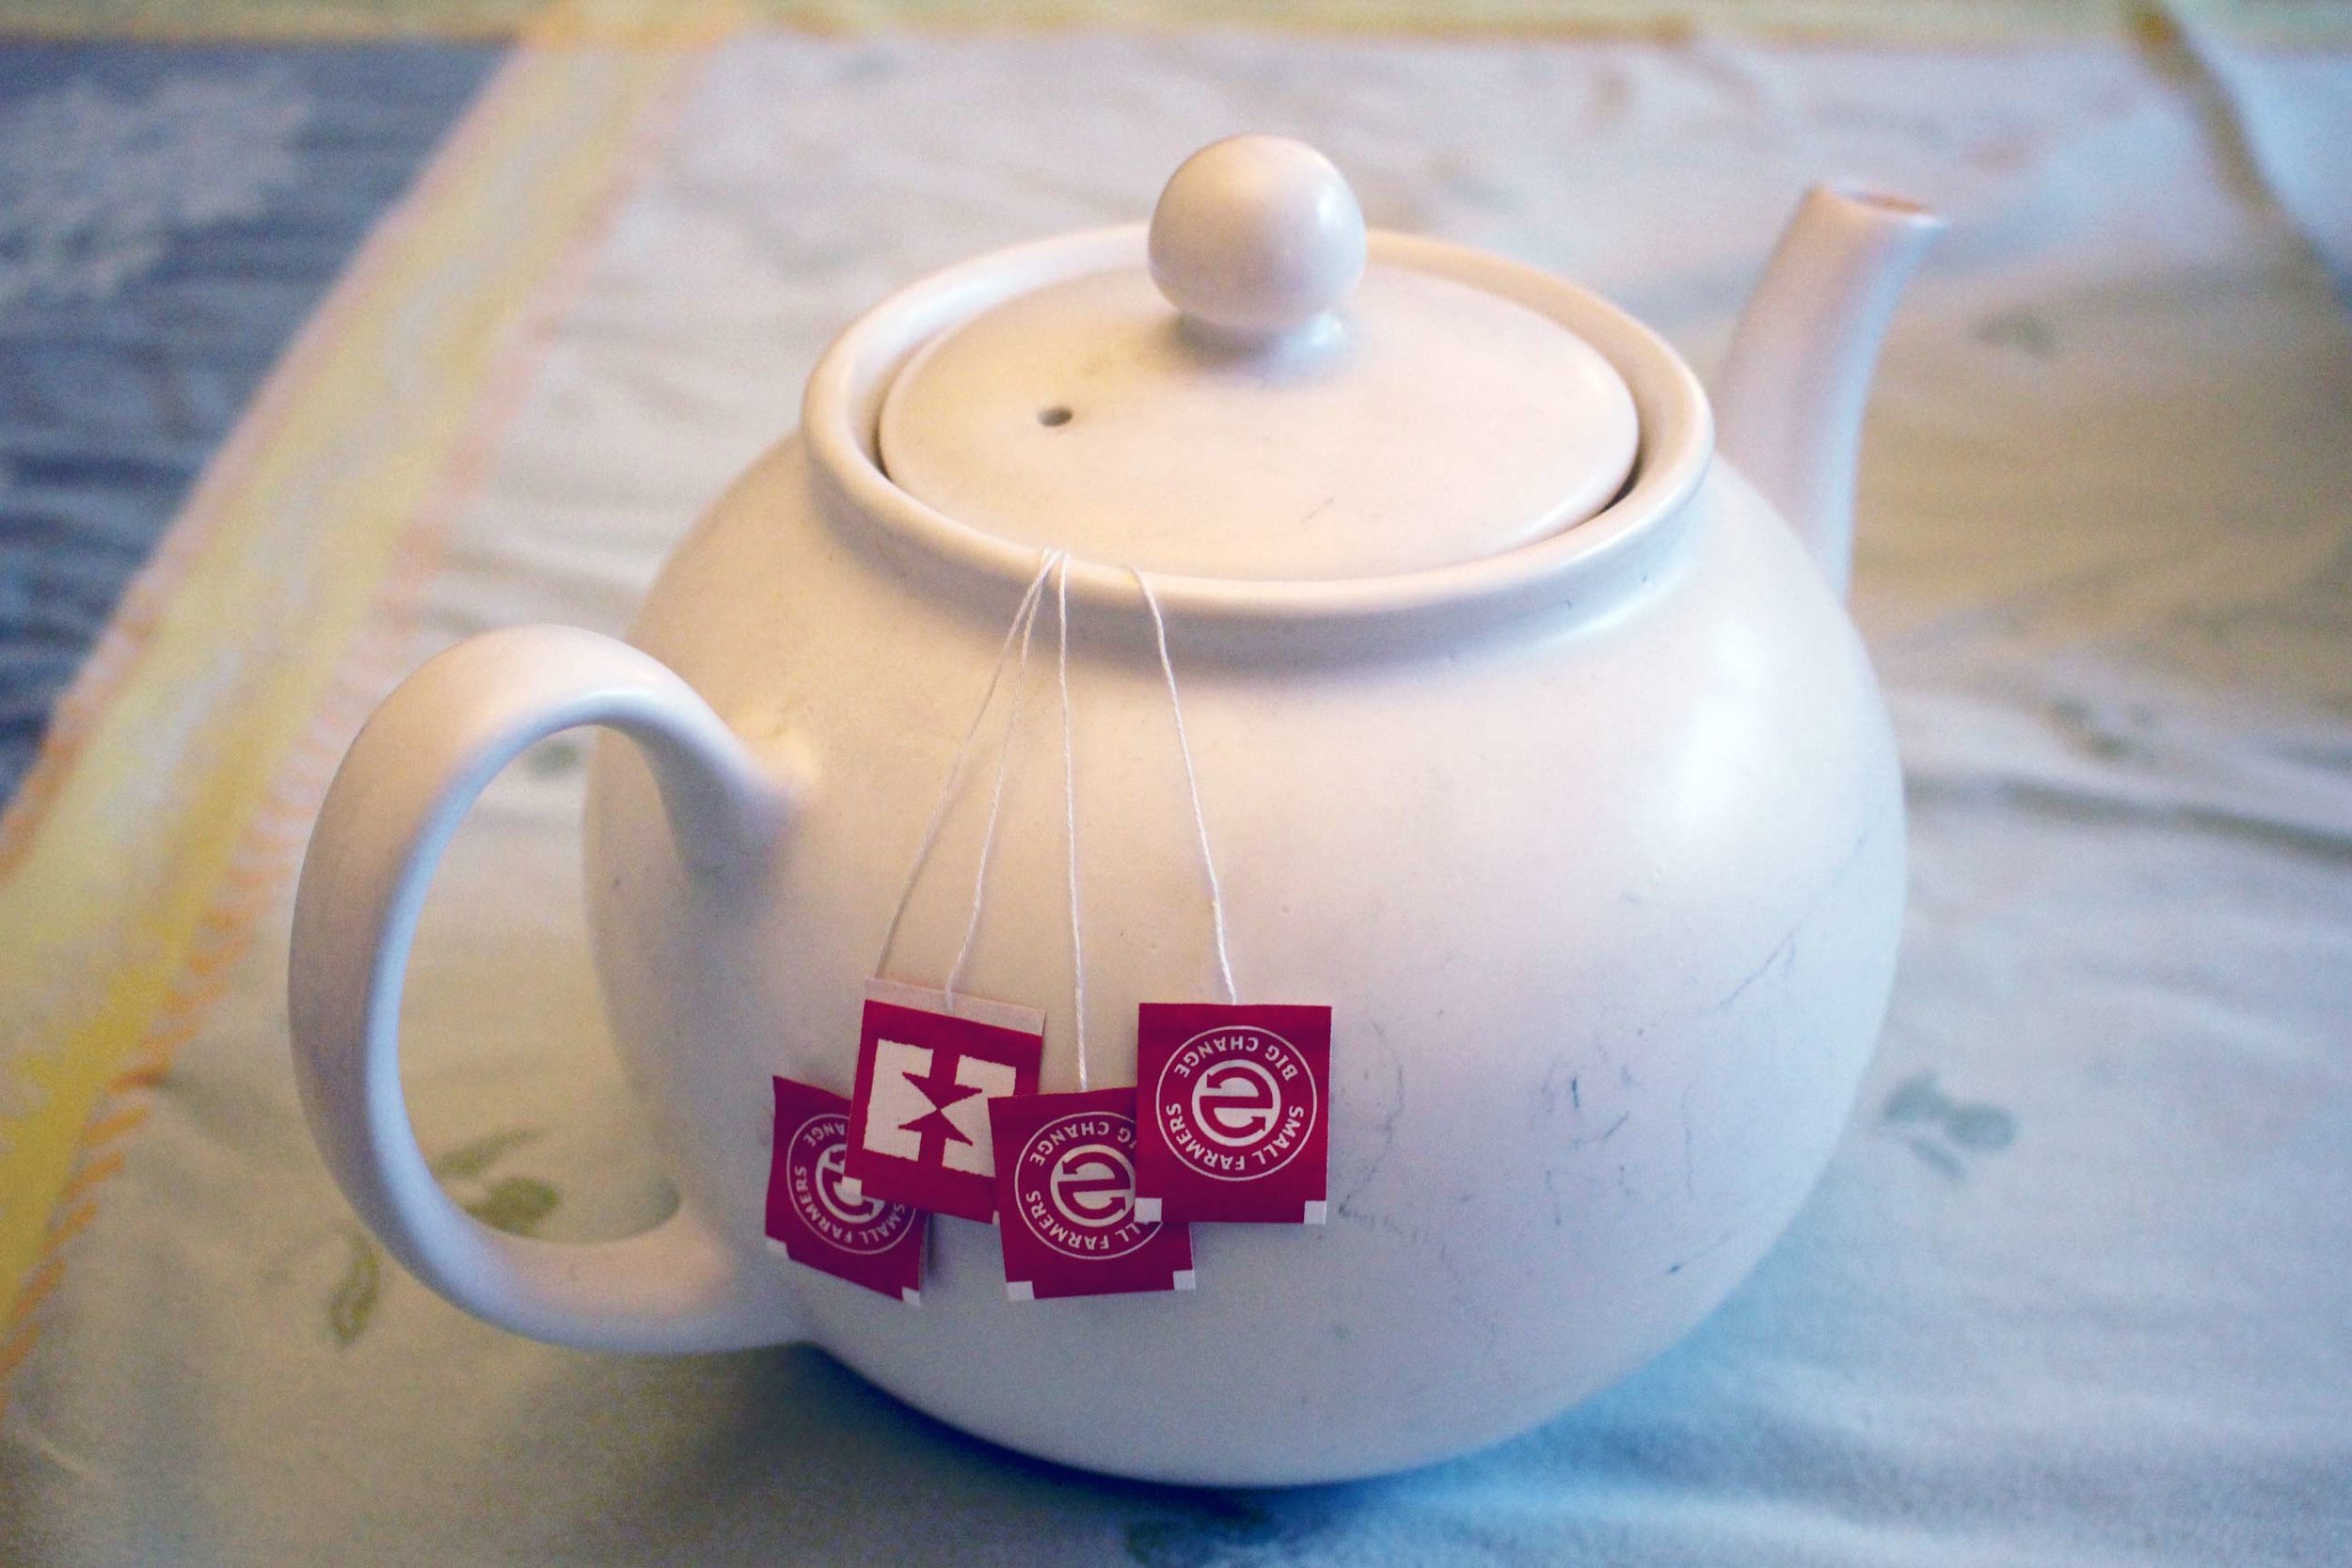
Make a pot of tea using about 4 teabags.
Step 1: Brew the tea
If you are experimenting with different types of teas, pick just one to start with. You can then repeat the process over with a different type. I chose to work with green and black teas, but chai and rooibos also make great dyes.
4 teabags is a good amount for a standard size teapot.
Let the tea sit for about 1-3 minutes. I wanted a lighter dye, so I only steeped the tea for one minute. Letting it sit longer will create a darker dye.
Step 2: Dye the Paper
Pour the hot tea into your tray or baking dish. Fill the container enough so that you will be able to fully submerge your paper.
Dunk your paper in the tray and soak it for at least a minute. You can soak it longer to create a darker tone. You will be able to see that paper getting darker and can remove it at any point that you like the tone.
Take the paper out and place on a drying rack or flat towel. If you want a smooth even tone, proceed to the drying stage. If you want to create a mottled texture, proceed to step 3.
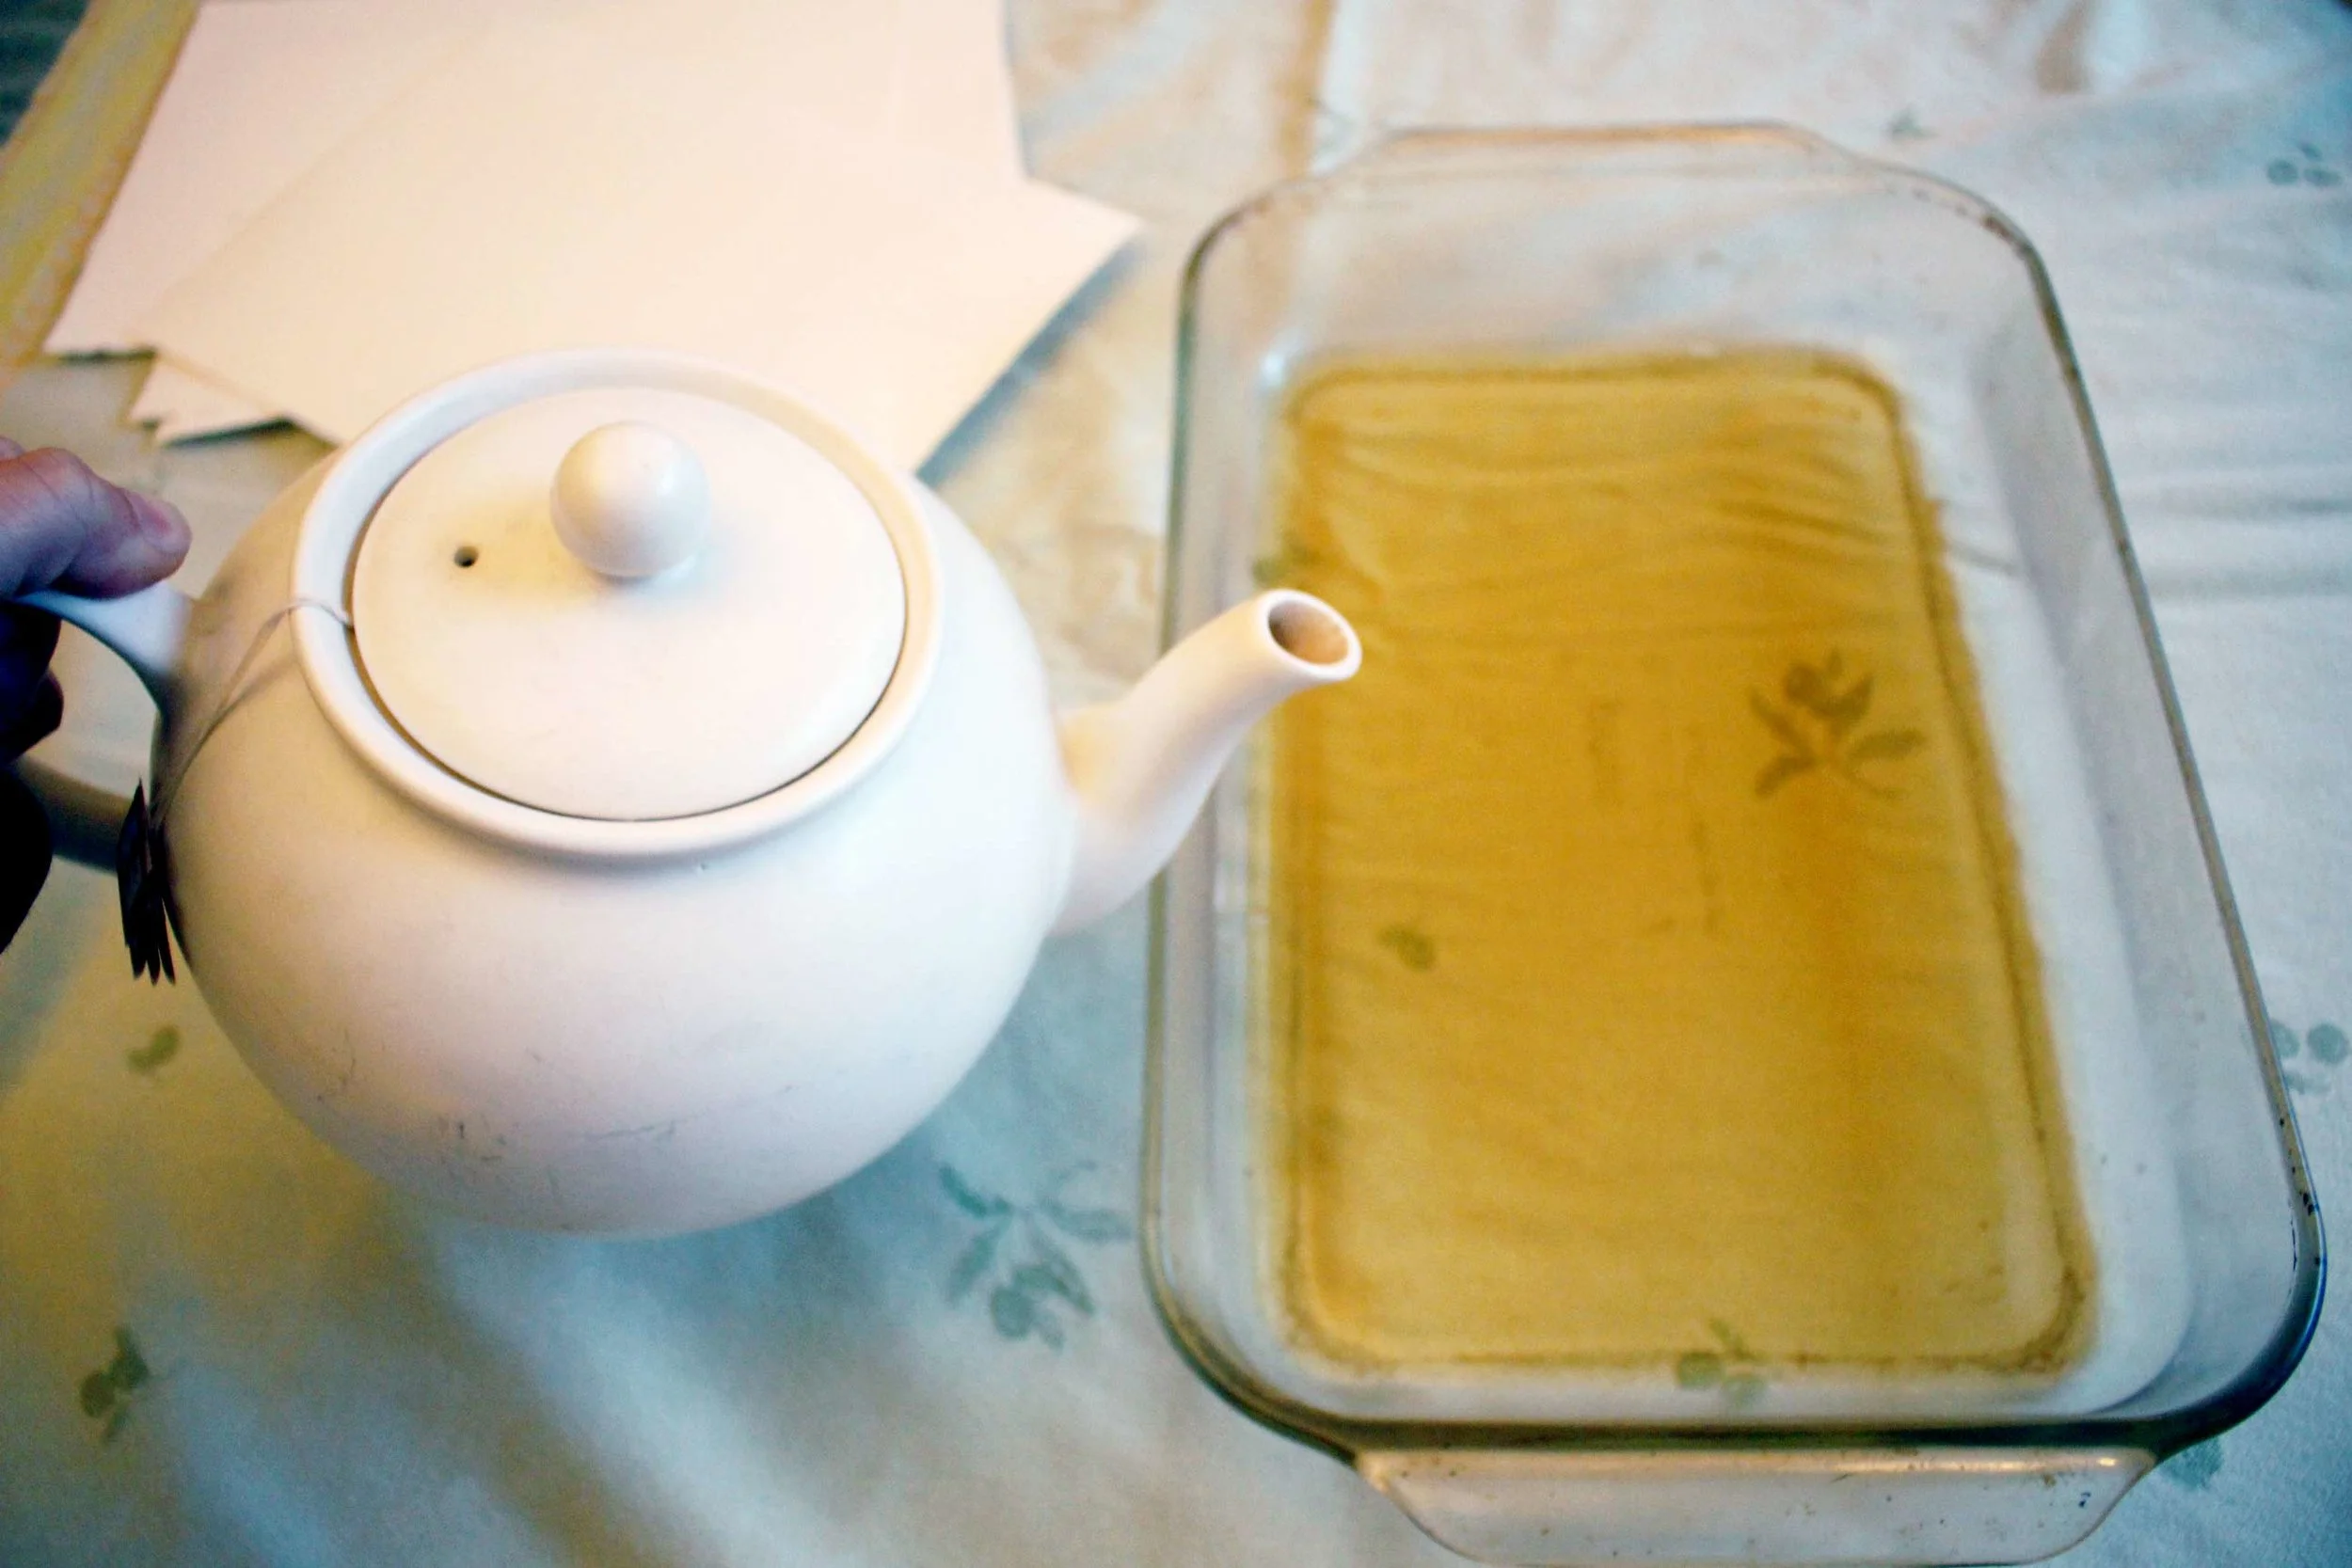
Pour hot tea into your tray.

Completely submerge paper until it reaches the desired color.
Step 3: Create texture
Place the wet paper on top of a smooth dishtowel on a flat surface.
Using a brush, sponge, or wet teabag- paint more tea onto desired areas of the paper. For my project I chose to create a vignette effect by painting the tea around the edge of the paper.
Painting directly with a teabag will allow for darker smears of dye, but less control
Painting with sponge or paintbrush will create more of a wash effect.
You can let extra tea for puddles on the paper, and those areas will dry darker.

While the paper is still wet, lay it out on a flat surface.
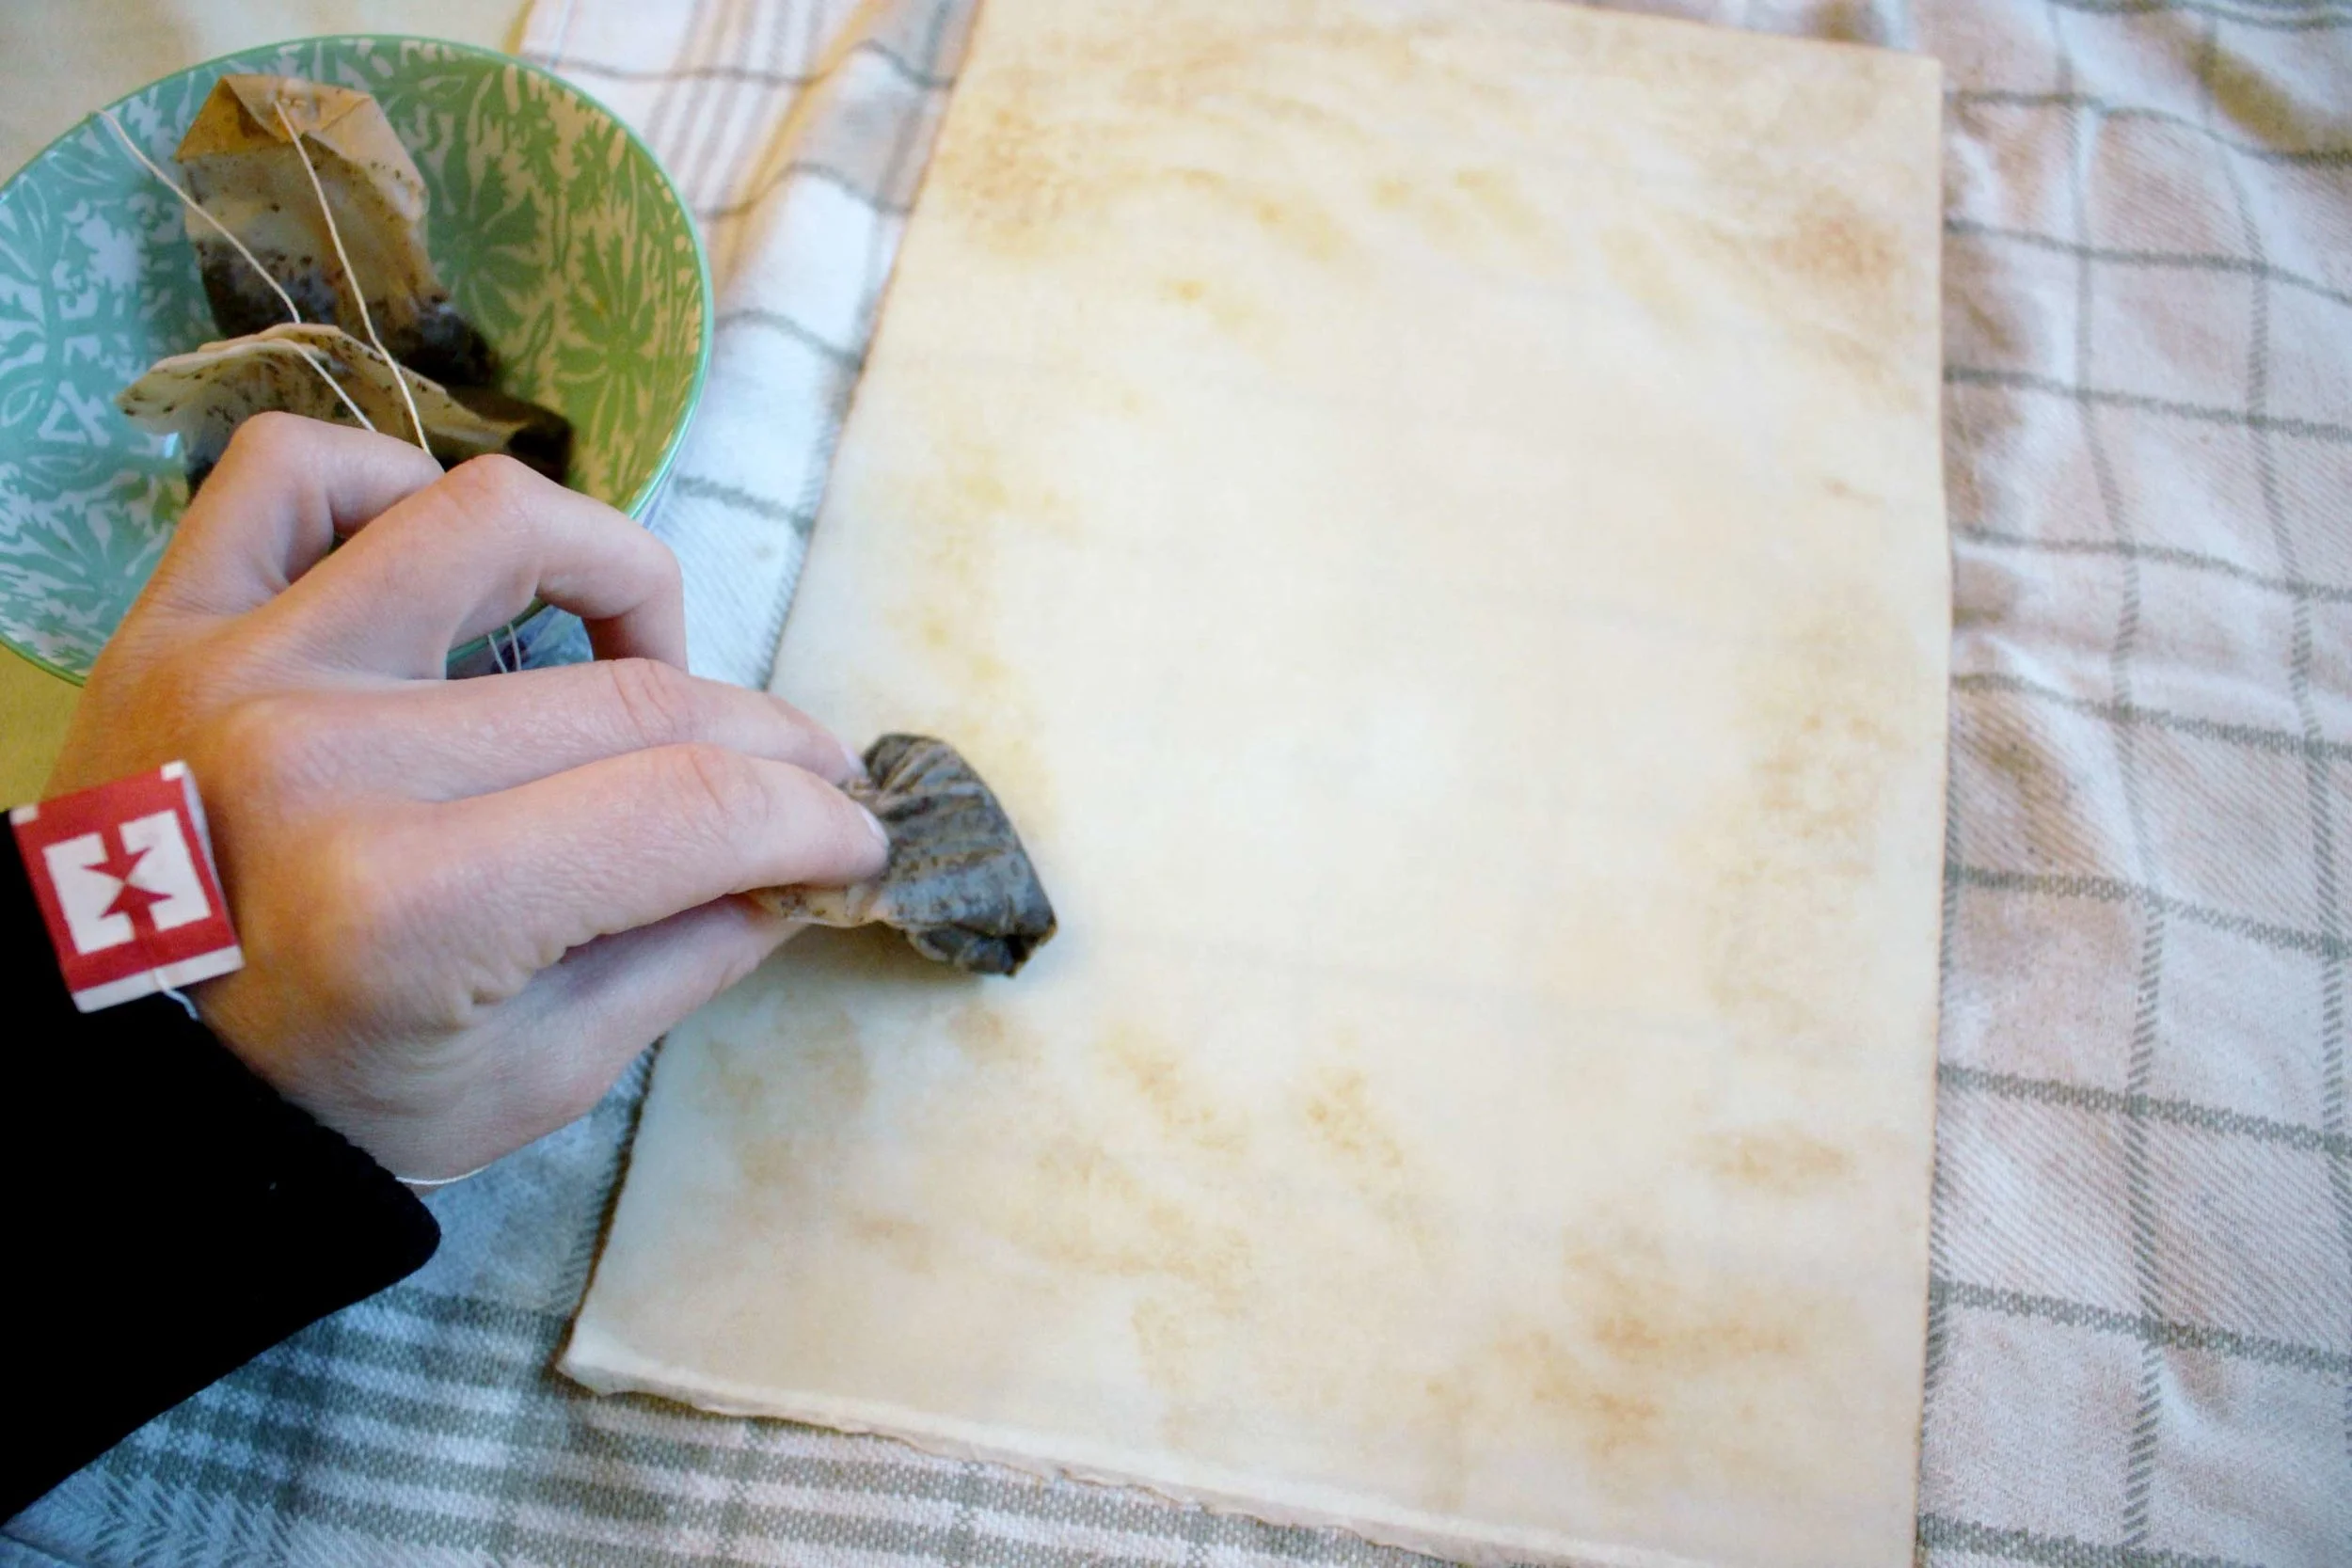
Using a teabag, sponge or paintbrush, add more tea to the paper to create a mottled effect.
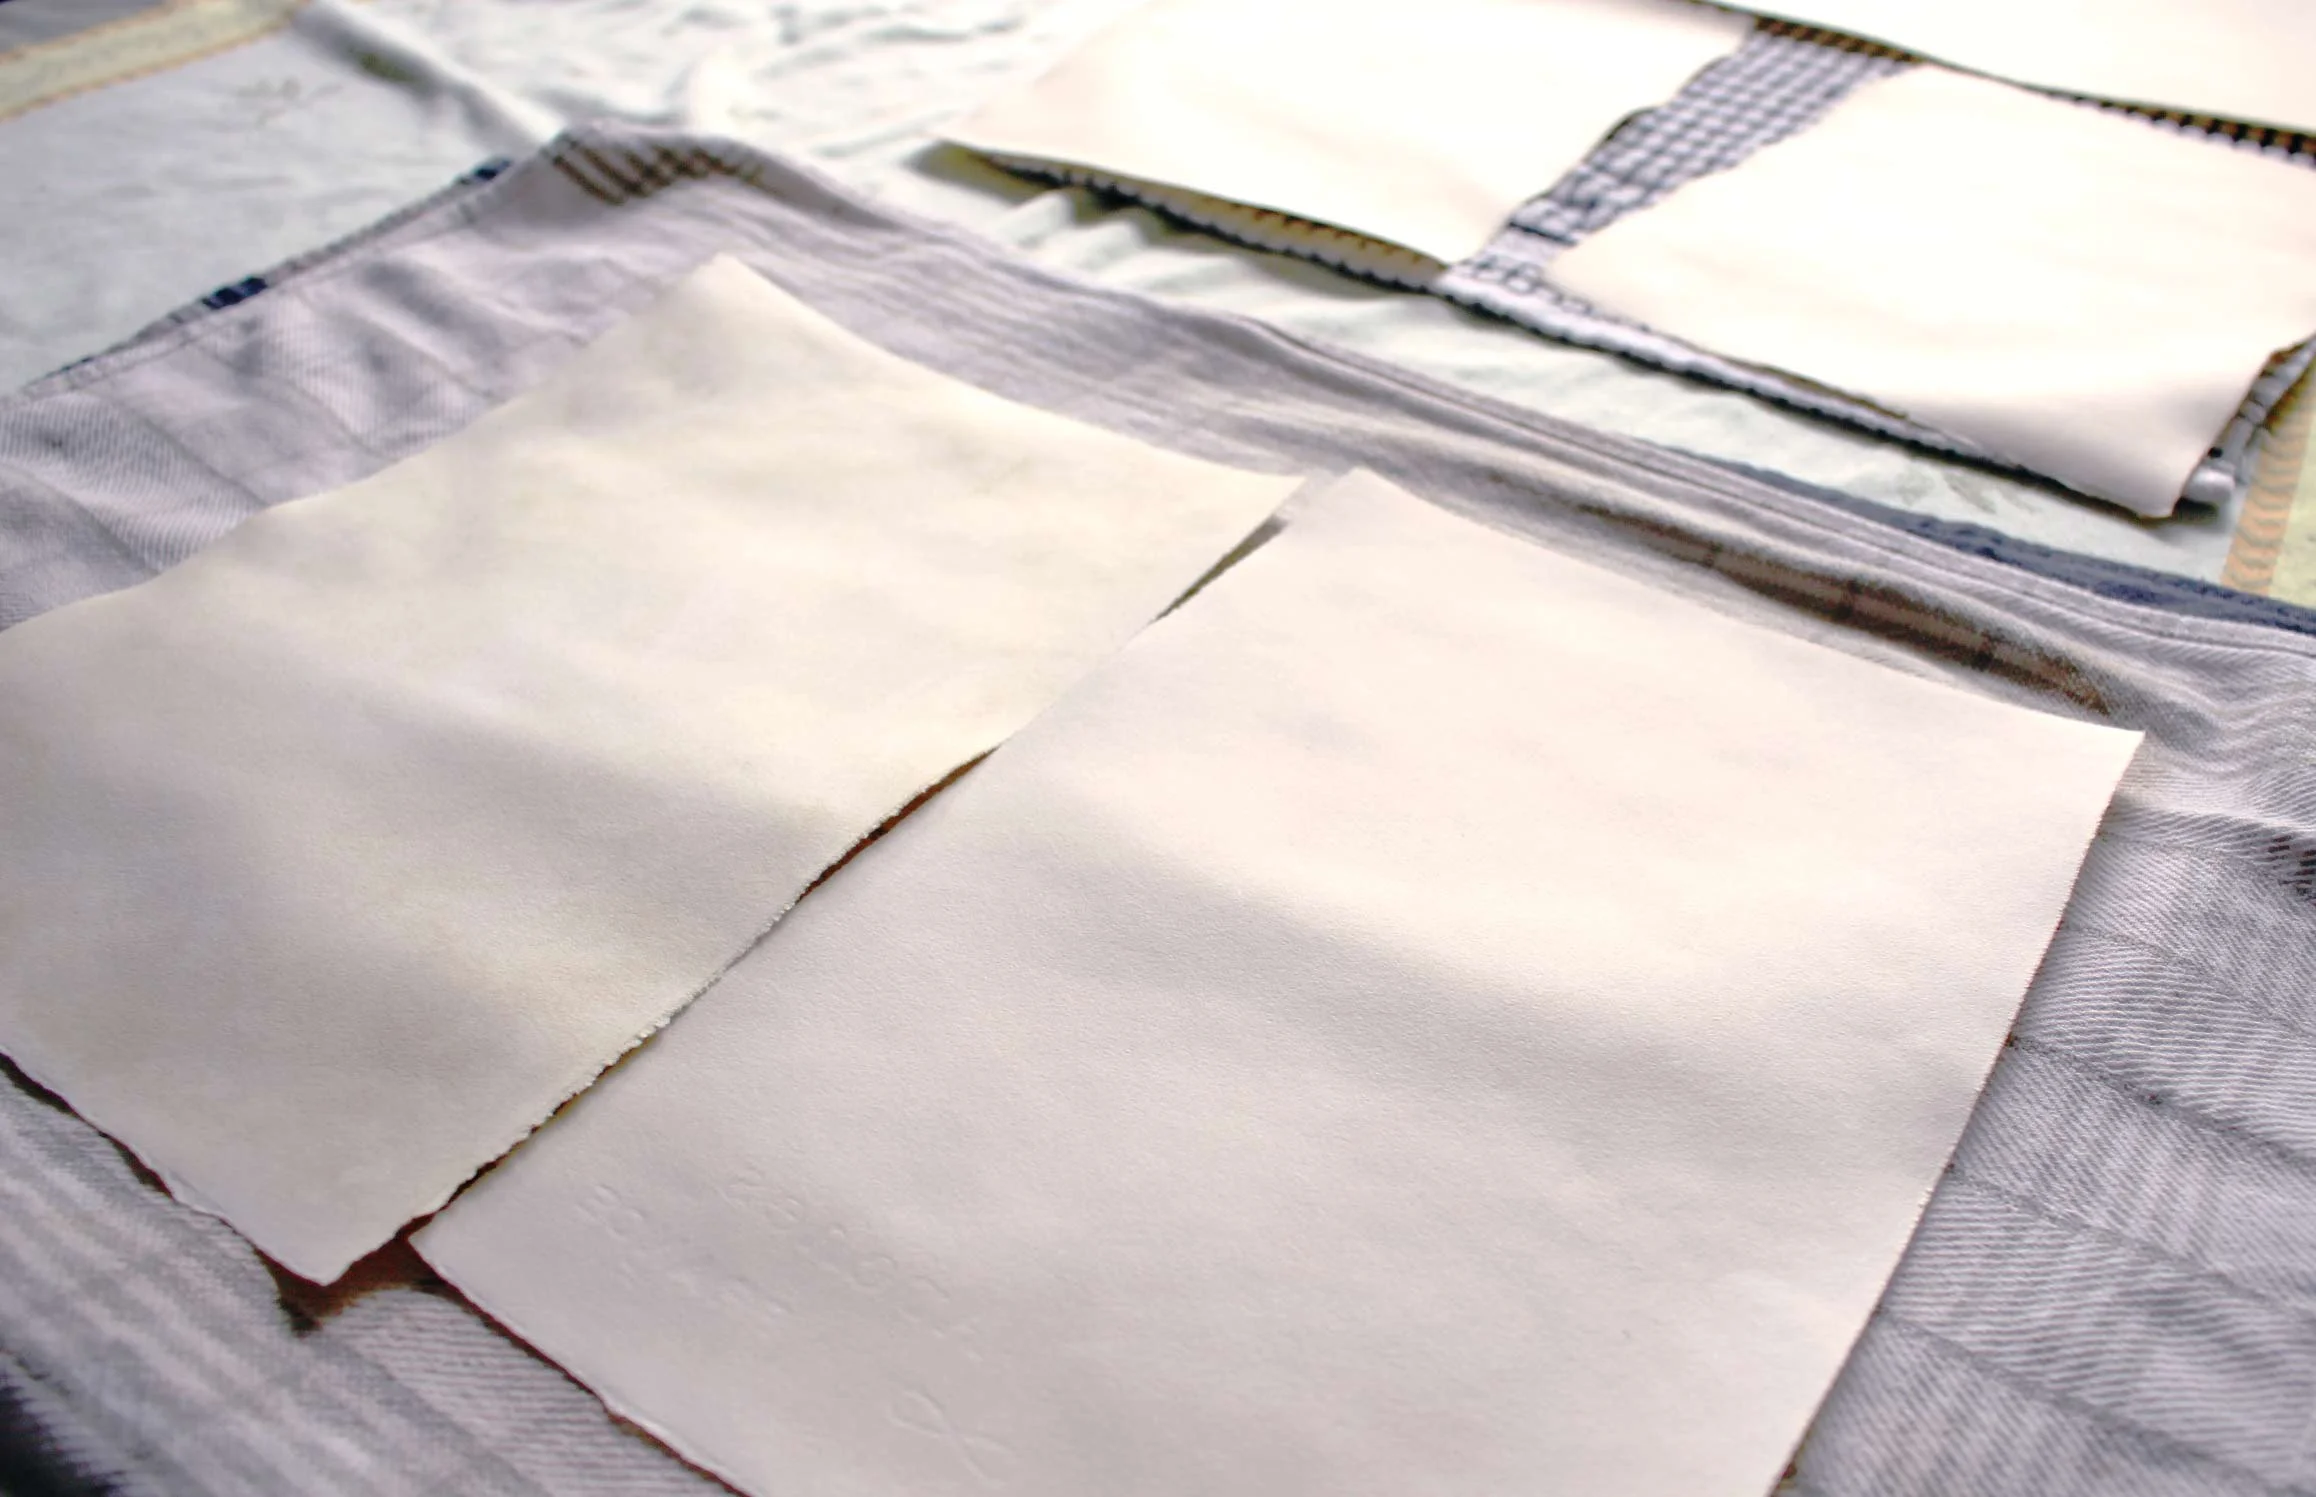
Step 4: Drying your paper
There are several ways of drying you paper. All of these methods will leave you with some wrinkles in your paper, which can be smoothed at a later point.
Place papers flat on your drying rack.
Place papers flat on top of a towel on a table.. You may want to change out the towels, as they can hold moisture and prolong the drying process
Our drying on a table or rack will take a few hours.
For quicker drying, use a hair dryer on the lowest heat setting..
Tea-dyed paper drying overnight on a table.
Step 5: Flattening Your Paper
Method 1: Press papers beneath a stack of heavy books. Protect the dyed paper by placing it between two sheets of wax paper, tracing paper, or vellum.
Method 2: Iron your papers with clothes iron. Place each sheet between two thin napkins or dish towels and iron smooth. Use the "cotton" heat setting on your iron.

Iron paper to flatten wrinkles.
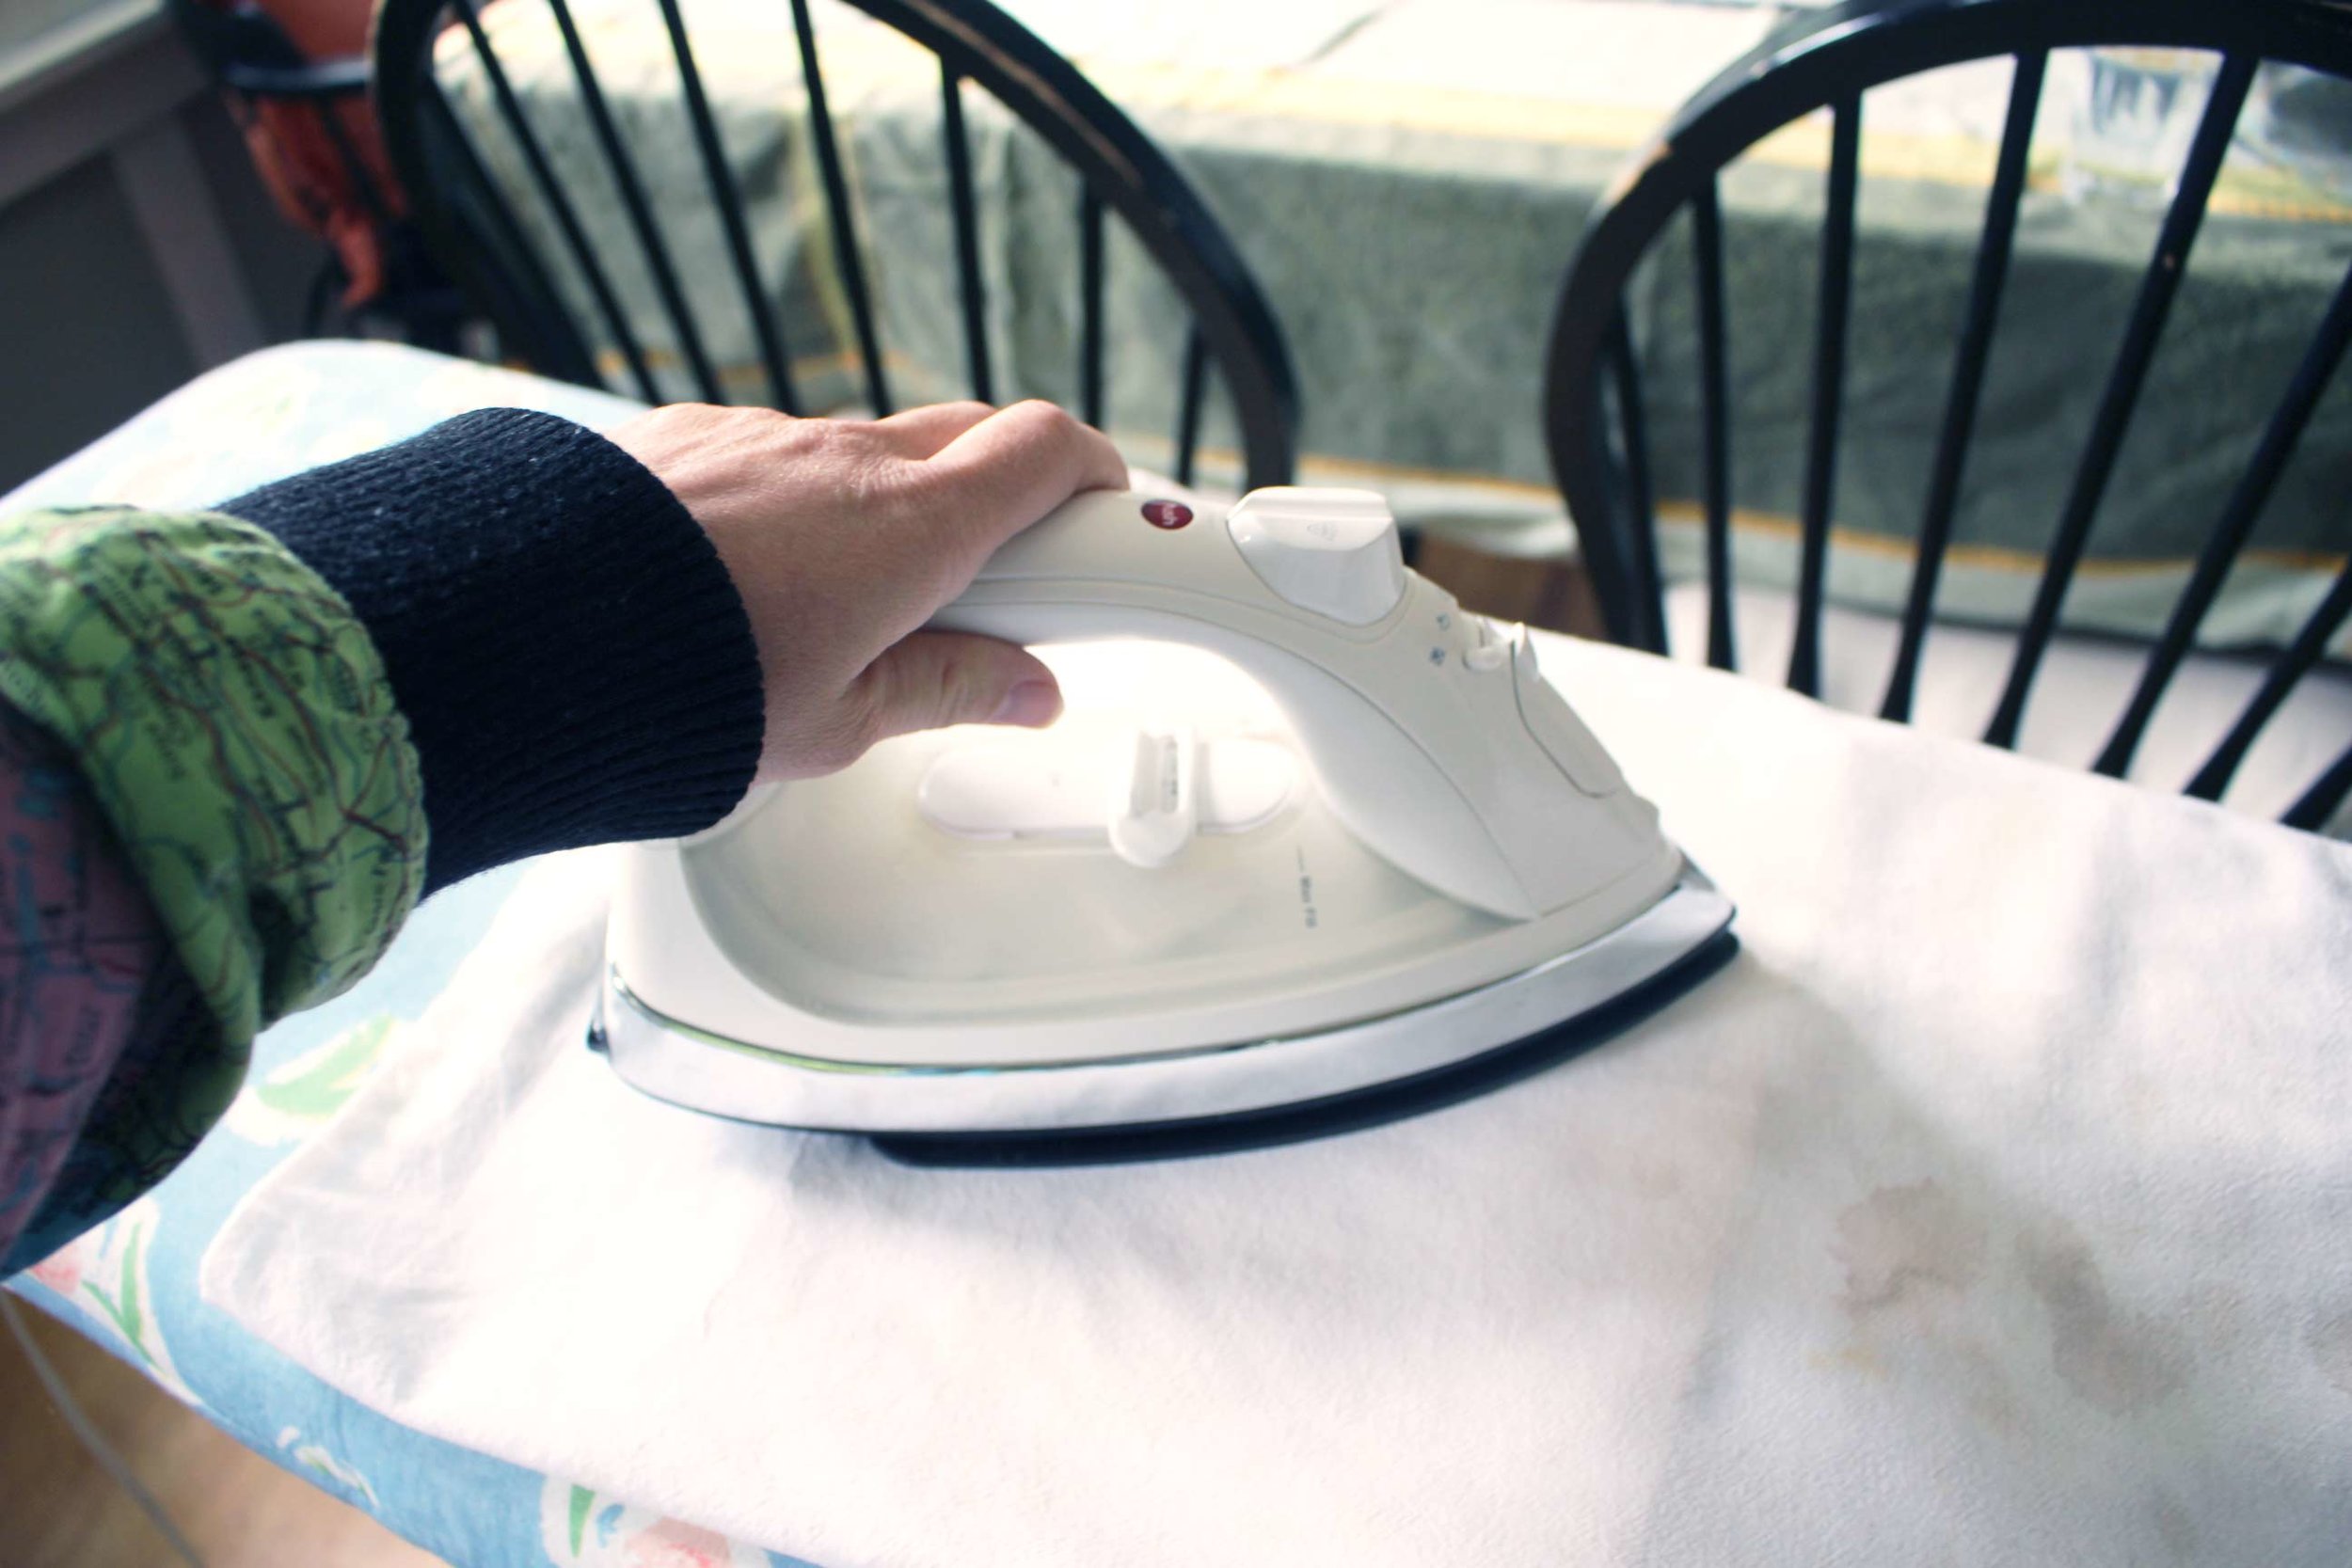
Protect the paper by placing it between two thin cloths.
My Results:
Both black and green teas were easy to use, and created beautiful tones. The vignette effect was more difficult to achieve, and the final effect was too dramatic for my purposes. However, I discovered that the back side of the paper showed a more subdued version of the same vignette. I loved this look, and ended up using it for the background of my printed cards. See images of the final results below.
Black Tea Dye:


Green Tea Dye:


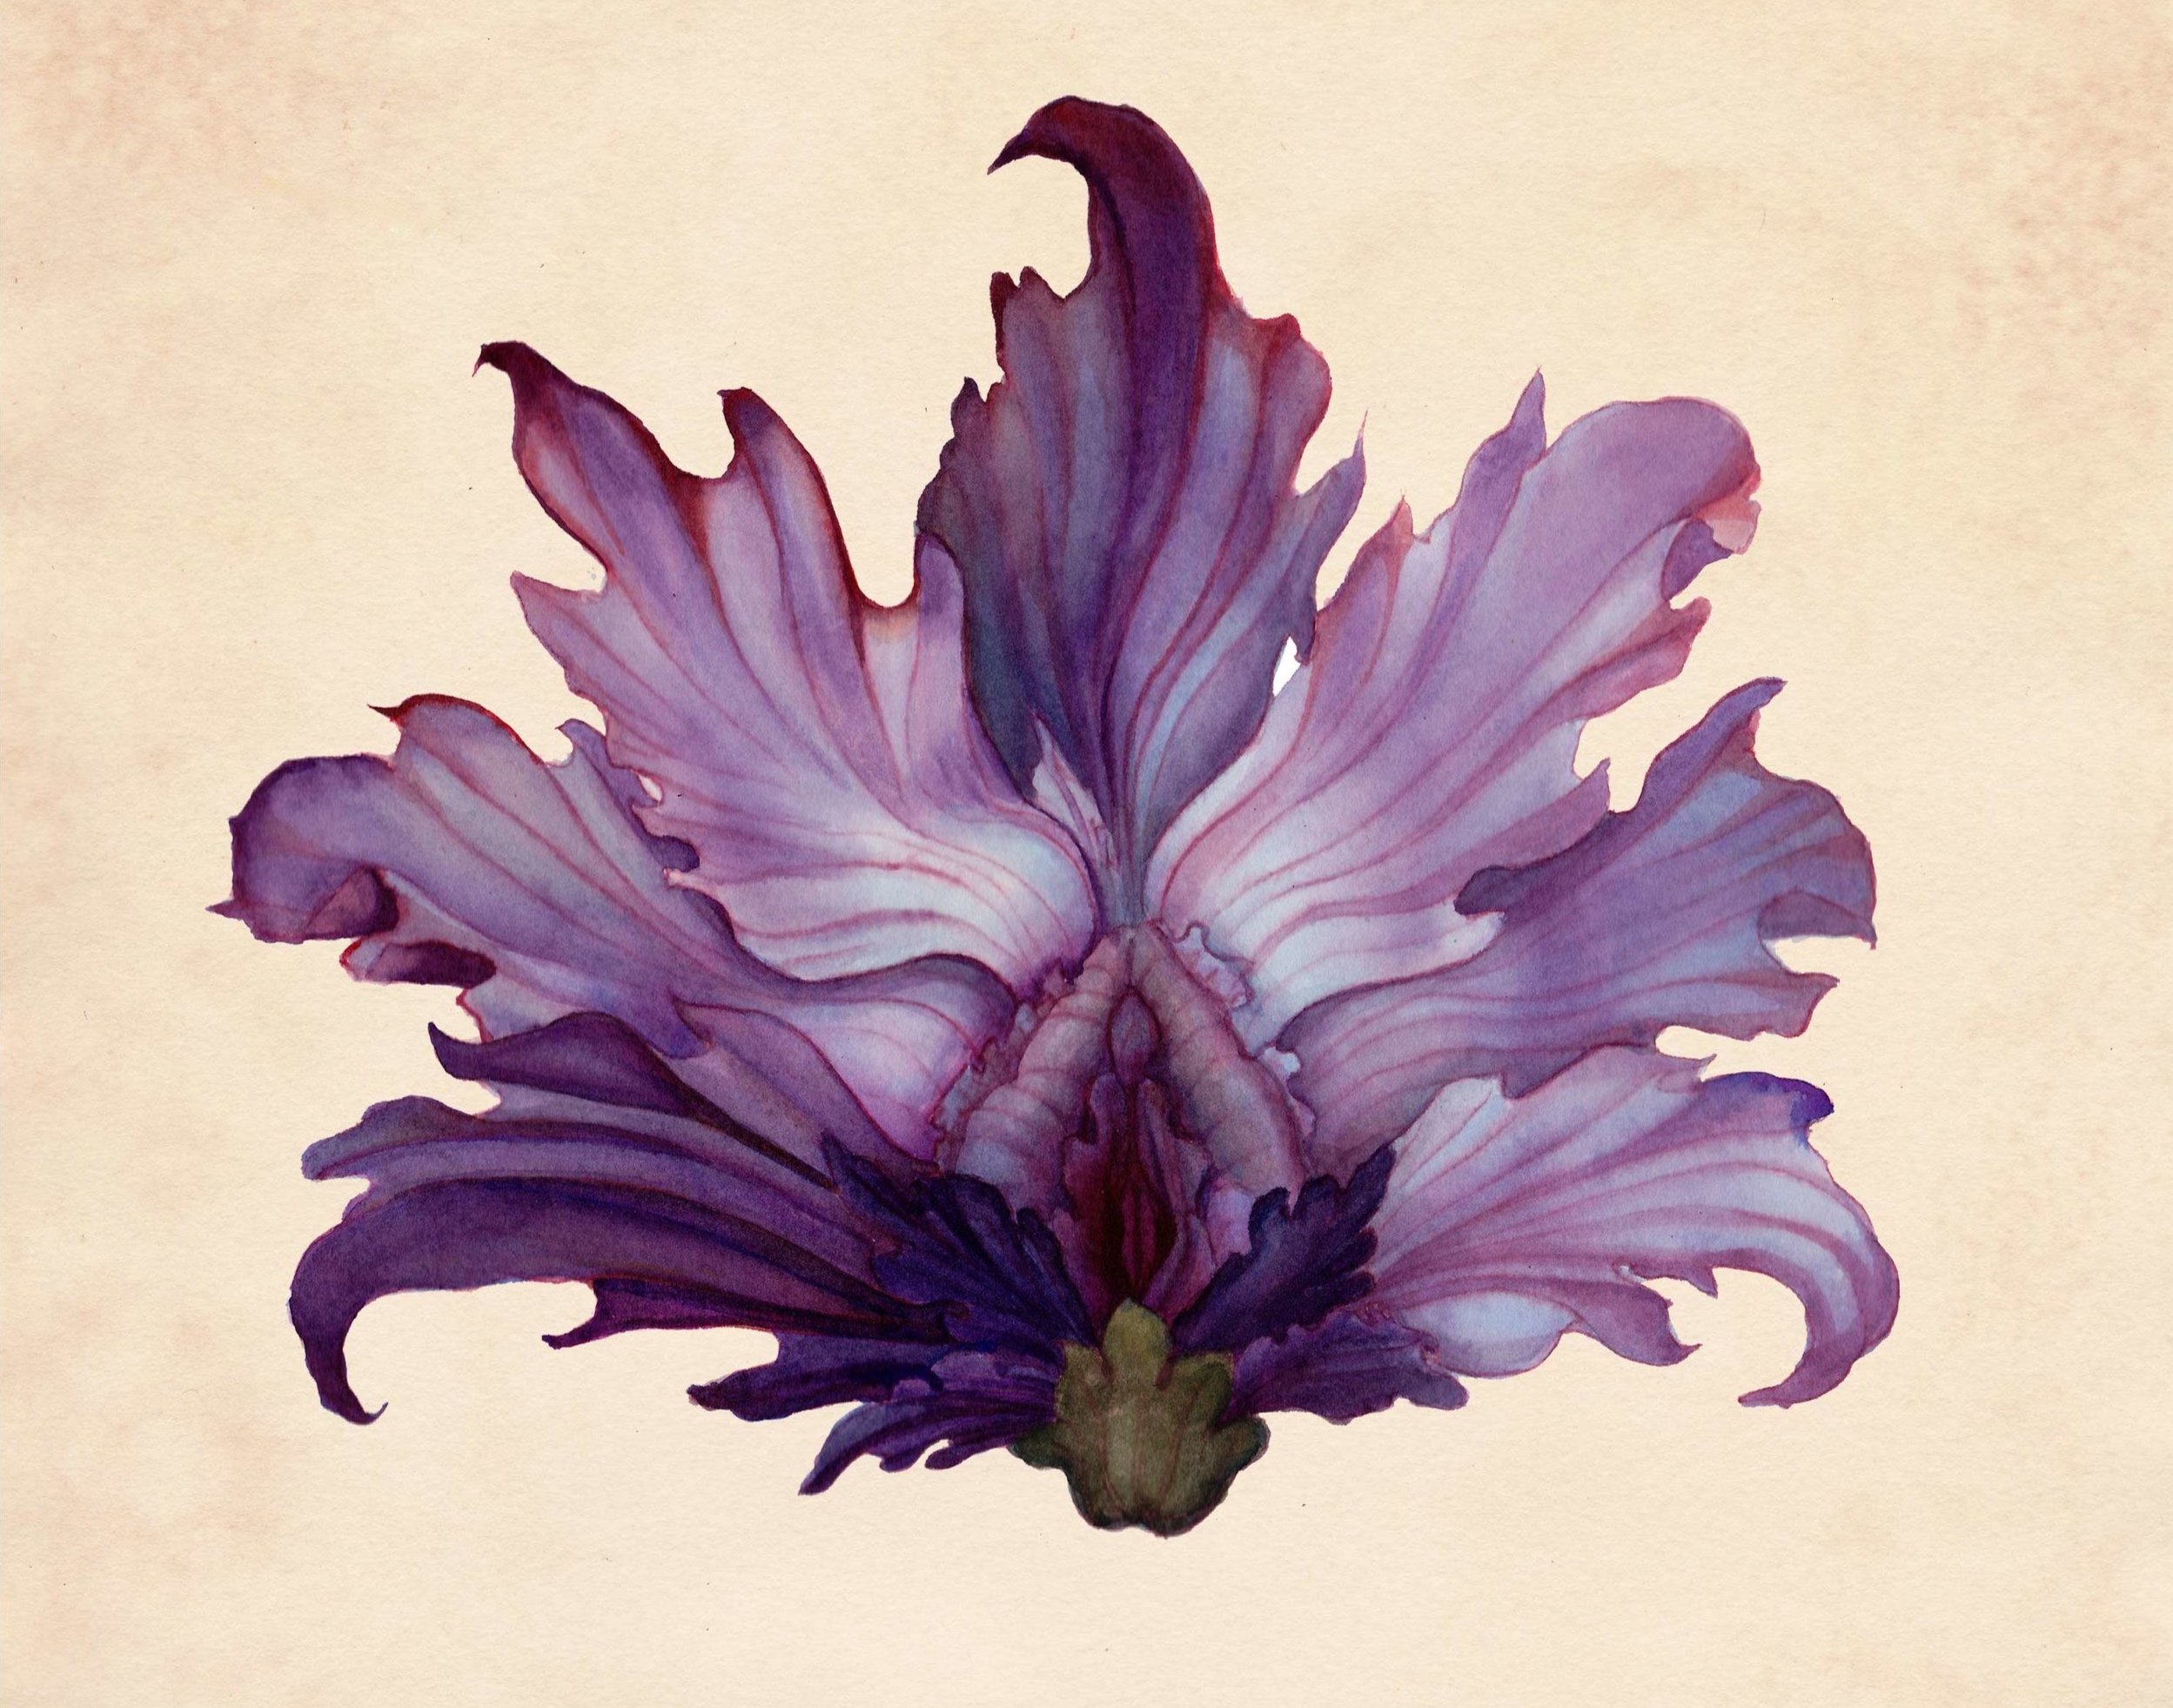
The Yoniflowers look so beautiful with their new "vintage" backgrounds.